New to the world of smoking meats? This beginner's guide to smoking meat will take you through all the basics! I'll cover the most common types of smokers, and the best meats to smoke for beginners, with links to some of my favorite recipes.
I'll also fill you in on basic seasonings and sauces, key cooking temperatures, types of wood for smoking, and my favorite accessories to make the job easier.
Jump to:
- Types of Smokers
- How to use a Smoker
- Best Meat to Smoke for Beginners
- What Seasoning to Use for Smoked Meats
- Cooking Temperatures for Smoking Meat
- Smoked Meat Finished Temperatures
- Types of Wood for Smoking
- Sauces for Smoked Meat
- Best Accessories for Smoking Meat
- Tips and FAQs for Smoking Meat
- Recipes for Smoking
Types of Smokers
There are many types of smokers, in a wide variety of designs and price points. They all look to achieve the same goal; consistent low cooking temperatures and smoke to help you make delicious, flavorful smoked meats. But they go about it in different ways. Here's a rundown of the most common types and pros and cons of each.
Offset Smoker
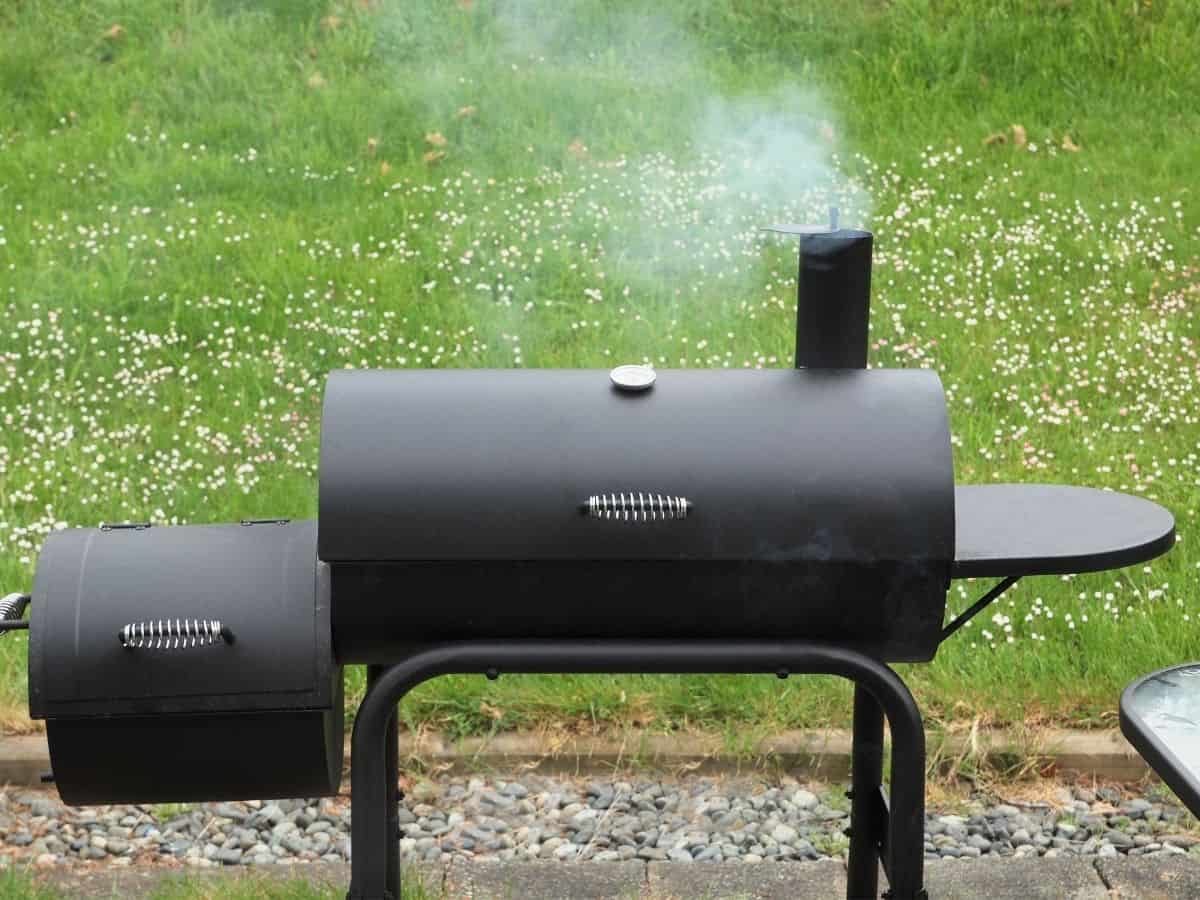
The offset smoker is the choice of purists and pros, and what a lot of people probably imagine when they think of a smoker. They have a large horizontal cooking chamber and a smaller firebox to one side for the heat source.
Hot air from the firebox is carried into the cooking chamber to produce indirect heat, then it is carried out through a smokestack. Temperature is controlled by adjusting vents that control the airflow both into the firebox, and out through the smokestack.
Offset smokers typically use charcoal as the fuel source, but large, heavy-duty models allow for using whole logs. Some also have cooking grates in the firebox allowing you to grill over direct heat.
Offset smokers generally require the most work to manage the fire and control temperature, especially when using logs. But to many cooks that is all part of the fun!
Due to the horizontal design, offset smokers offer a large cooking area. Some of the larger models can even fit a whole hog.
The price range for offset smokers is one of the widest. Starting around $150 for the thin, poorly made smokers at your local big-box store, to custom trailer rigs costing thousands.
Avoid the cheapest ones at all costs. The thin metal and poor seals make it very difficult to retain heat and control the temperature, leading to frustration and poor results.
In the under $1000 range Oklahoma Joe's smokers are of decent quality, with thicker gauge steel and better build quality than many of their peers. They're a good budget-friendly choice, especially with a little modification like installing improved gasket seals.
In the $2000 range, Yoder has some well-built options.
Pros
- Large cooking area
- Ability to add fuel to the firebox without opening the cooking area
- Classic looks
- Some models offer flexibility to grill with high heat in the firebox.
Cons
- Difficult to control temperature on cheaper models
- High quality brands are expensive
- Typically large and require lots of space
Drum Smoker
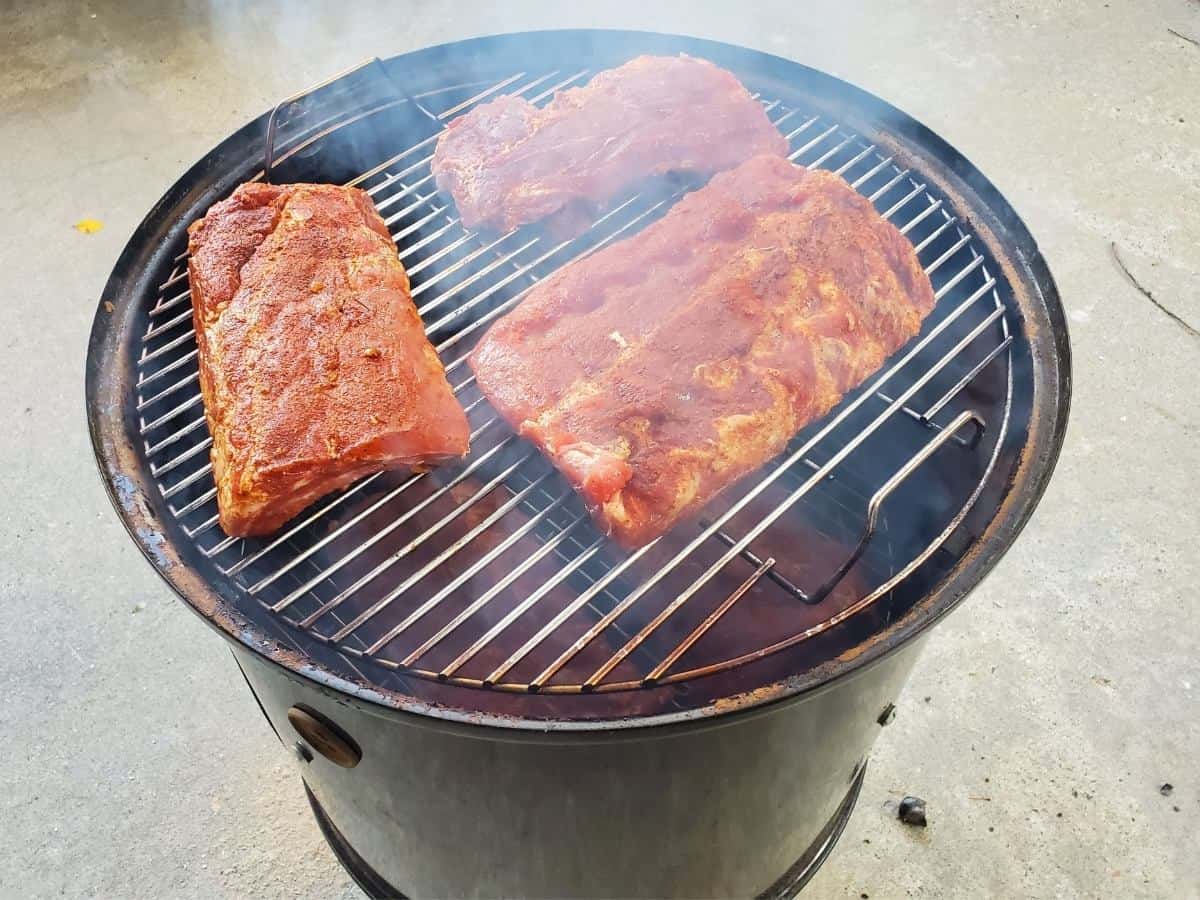
A drum smoker, also known as a barrel smoker, has a vertical cooking chamber with the fire at the bottom, typically a coal basket. The meat sits on racks, or hangs from hooks, towards the top and a lid seals it up.
Vents at the bottom and in the lid are used to adjust the airflow and control the temperature. Many also have a door on the side to allow access to the fire.
Quality drum smokers are generally user-friendly and can hold a lot of coals, allowing for long cook times without needing to add fuel. However, like other types, there are low priced models that are poorly made and difficult to use.
Since the meat sits directly above the heat source, drum smokers generally cook a little hotter and faster than most other types of smokers. So they can take a little practice and slight modification to some recipes, but you can still put out great tasting barbecue. You can also use an insulator, like a water pan, between the meat and the fire to produce a more indirect heat.
These smokers are budget friendly, typically in the $300-$600 range for a good quality brand like Pit Barrel Cooker or the popular Weber Smokey Mountain.
Thanks to the vertical design drum smokers have a smaller footprint, so they're a good option when space is limited. But this design also limits the capacity for larger cuts like brisket.
Pros
- Easy to use
- Budget friendly
- Small footprint thanks to vertical design
Cons
- More direct heat unless using a water pan or deflector plate.
- Limited capacity for larger cuts
Electric Smoker
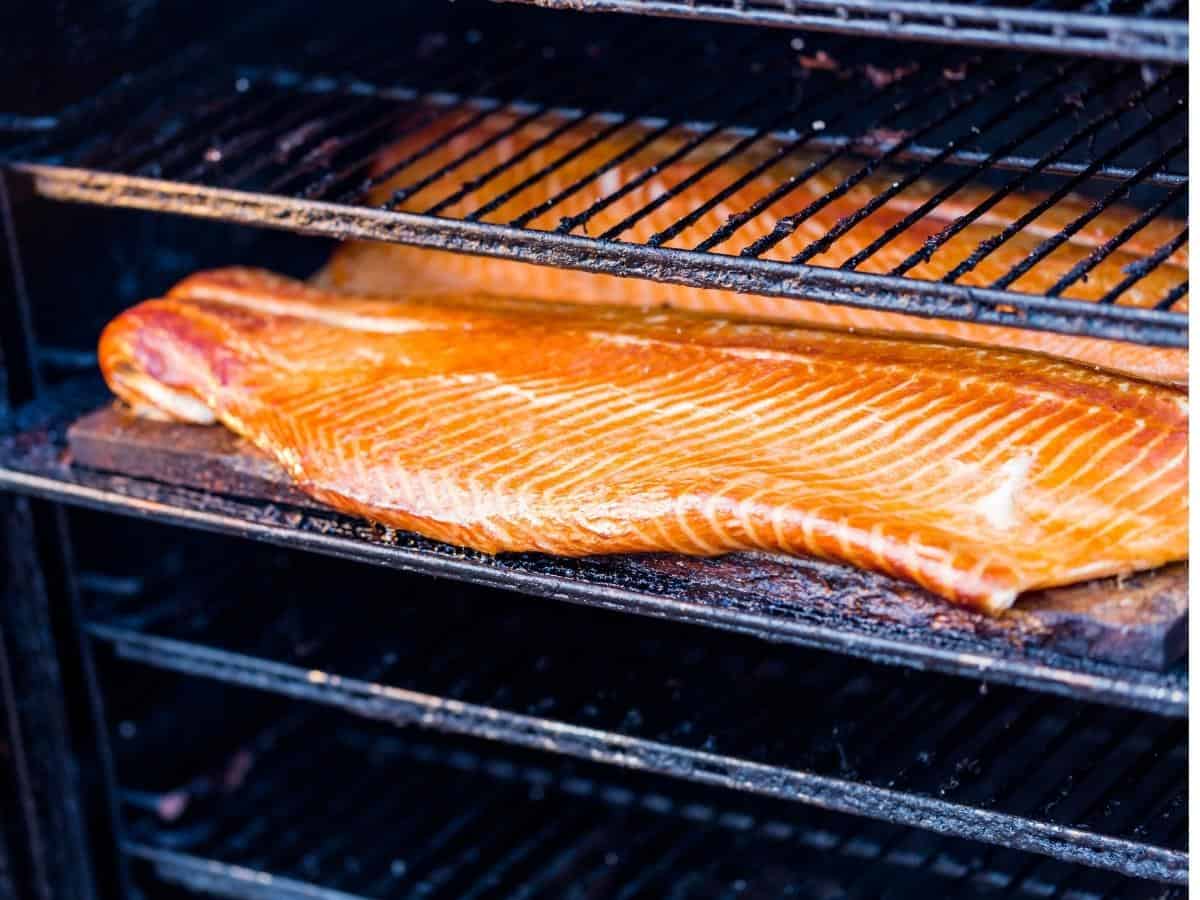
Similar to an oven, electric smokers use an electric heating element to produce heat. Simply set your desired temperature and the onboard controller will manage the heat for you. A smokebox holds wood chips or pellets over the heating element to produce the smoke.
Electric smokers will not produce a high level of heat and often max out around 275°F. This is fine for most smoking, but you will not be able to roast or sear in an electric smoker.
They are excellent for low-temperature smoking. This makes them a good choice for smoked seafood like smoked salmon and trout or for making homemade jerky.
electric smokers are typically vertical cabinet style smokers with multiple racks, allowing you to cook a large amount of food. Some smaller models use the drum design with an electric heating element at the bottom instead of a coal fire.
Since there is no true combustion fire, electric smokers will produce a lighter smoke flavor than other types of smokers. They are typically sealed environments as well and retain more moisture, so electric smokers will not produce as much crisp bark on the exterior of your meat.
If you plan on using an electric smoker you will need a power source nearby. Weather can also be a concern, as they are not recommended for use in wet conditions.
Pros
- Electronic temperature control
- Easy clean up and minimal maintenance
- Small footprint
- Can maintain a low temperature, perfect for smoked salmon and jerky
Cons
- Lighter smoke flavor and less bark
- Limited high temperature range
- Require electric power source
- Not for use in wet conditions
Pellet Grill
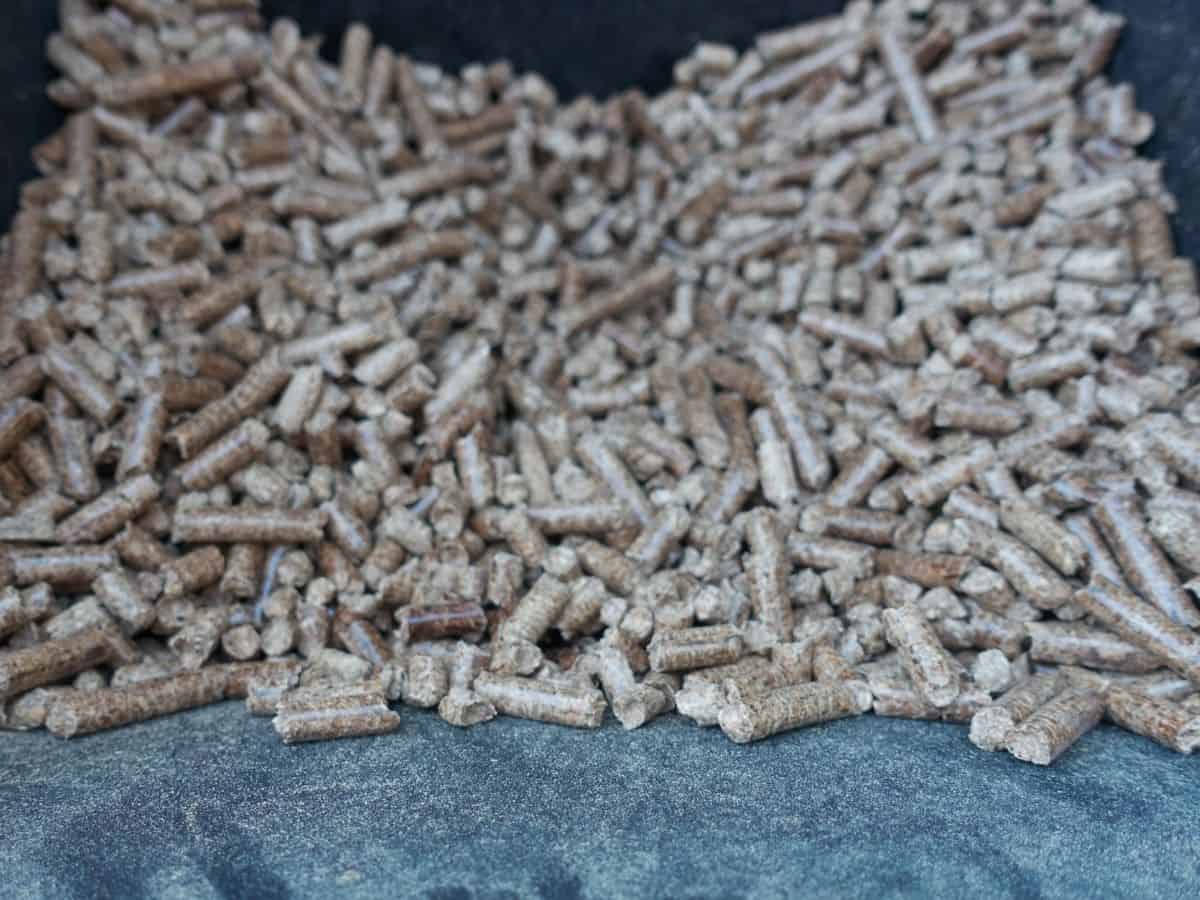
Pellet grills, like the Traeger, have become very popular thanks to their set it and forget it functionality. These grills are often similar in design to an offset smoker, with a horizontal cooking chamber.
A hopper on the side holds the wood pellets and feeds them into a burn pot where they are ignited. A fan provides airflow to circulate the heat and smoke and the onboard controller maintains the set temperature.
If you're looking for an easy to use smoker that requires very little effort to operate, but looks more traditional than an electric smoker, then a pellet grill is for you.
Because of the electronic control, pellet grills do require a power source, so this will limit placement options.
The smoke flavor is lighter than most smoker types as well, similar to an electric smoker.
Prices on pellet grills start around $400 and go up to several thousand on the high end. With the rise in popularity, many budget models have entered the market, but like other styles, I would avoid the low end models. There are high quality options available for around $1000 from brands like Traeger, Rec Tec, and Camp Chef.
Pros
- Easy to use and clean
- Reasonably priced
- Some models have sear stations to increase versatility.
Cons
- Lighter smoke flavor
- Require power source
Kamado Grill
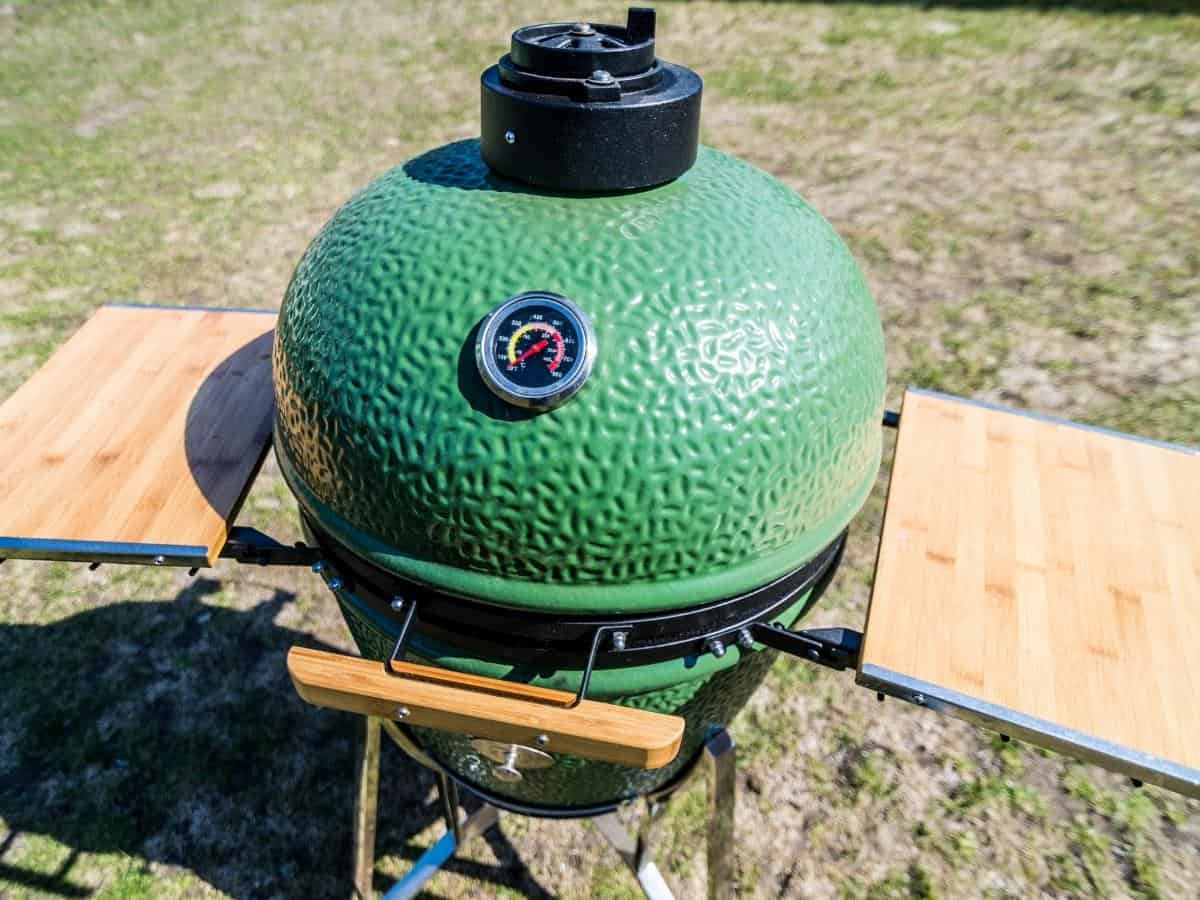
Ceramic kamado grills, like the popular Big Green Egg, are another option for smoking. These versatile grills feature heavy-duty ceramic shells, instead of steel like most other grills.
The heat source is a charcoal fire at the bottom of the grill and vents at the bottom and top regulate the airflow to control the temperature. The thick ceramic is great for holding consistent temperatures for long periods of time, so they are typically fuel efficient.
Kamado grills can be used for direct heat grilling or smoking. Low temperature smoking generally requires a heat deflector to insulate the meat from the direct heat.
There are a wide range of accessories like carts and tables to hold the grill and racks and inserts for different types of cooking.
Smaller models start around $400 and larger models can go into the $2000 range. And that's before adding on accessories.
Pros
- Wide temperature range allows for grilling and smoking.
- Hold even temperature for long periods
Cons
- Larger models are pricey, especially after adding accessories
- Smaller cooking area than horizontal smokers
Charcoal Grill
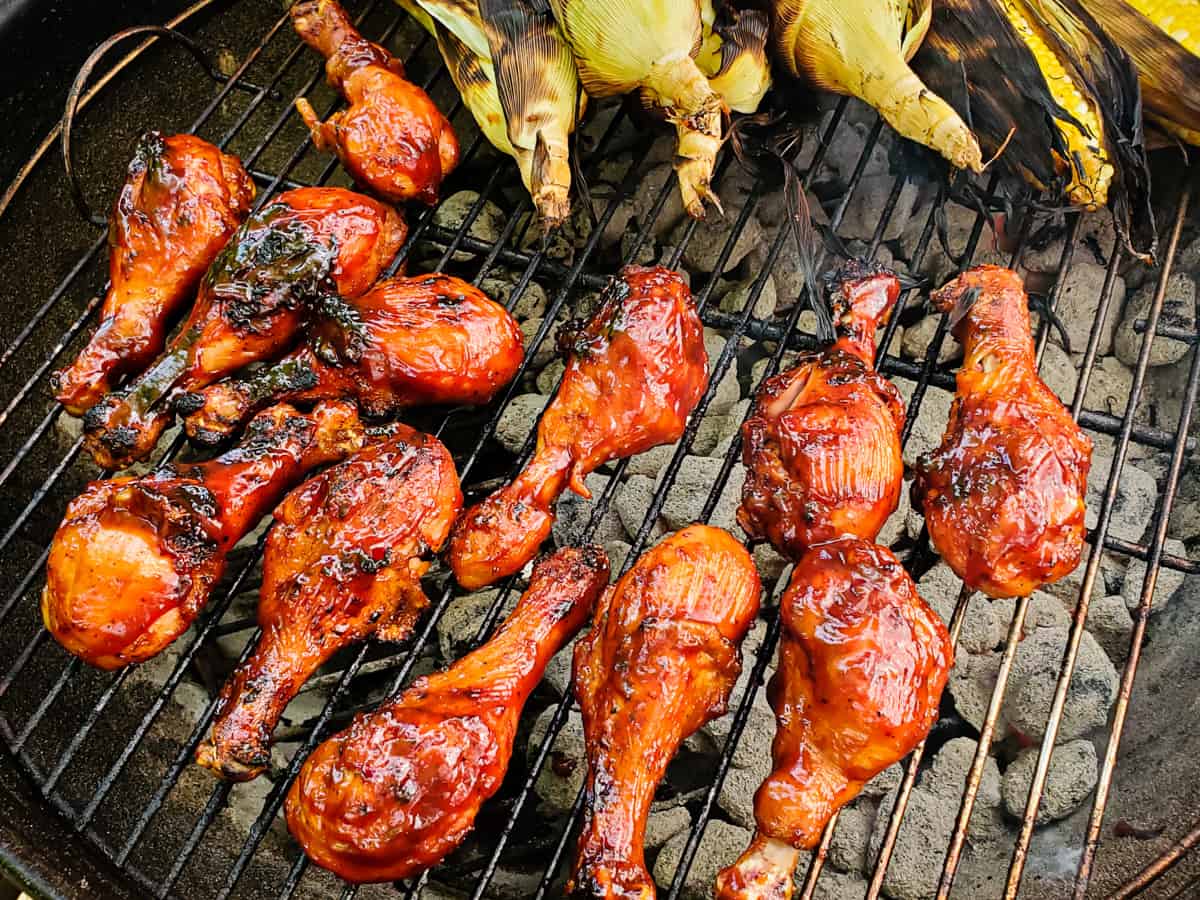
Charcoal grills like the classic Weber kettle grill can also be used for many smoking tasks.
Like most smokers, the heat is controlled by adjusting vents on the top and bottom that control the air flow.
The key is to set up for two zone cooking by piling your coals on one side of the grill and cooking your food on the other side so that it only gets indirect heat.
Accessories are not required but can make the job easier. A coal basket works well to help keep the coals piled up and contained to one side. And a foil water pan under the meat helps to stabilize the temperature and catch any drippings.
Depending on how close the meat is to the direct heat you might also consider making a heat shield. This is done by folding heavy-duty aluminum foil into an "L" shape and placing it between the meat and the fire to deflect the heat.
Due to the two zone setup, the amount of fuel you can add is limited. And kettle grills aren't designed for long, slow cooks. So smoking on a kettle grill is best reserved for smaller cuts like ribs, chicken, and small pork butts. But for quick cooks like chicken, it's a good option.
Pros
- Inexpensive
- Wide temperature range allows for grilling and smoking.
- Easy to use and clean
Cons
- Hold smaller amount of fuel when setup for two zone cooking.
- Not great at holding consistent heat for long period of time.
How to use a Smoker
As we just learned, each type of smoker operates a little differently. For electric smokers and pellet smokers you simply set the temp and the controller does the work. For most other types you'll start by building a charcoal fire.
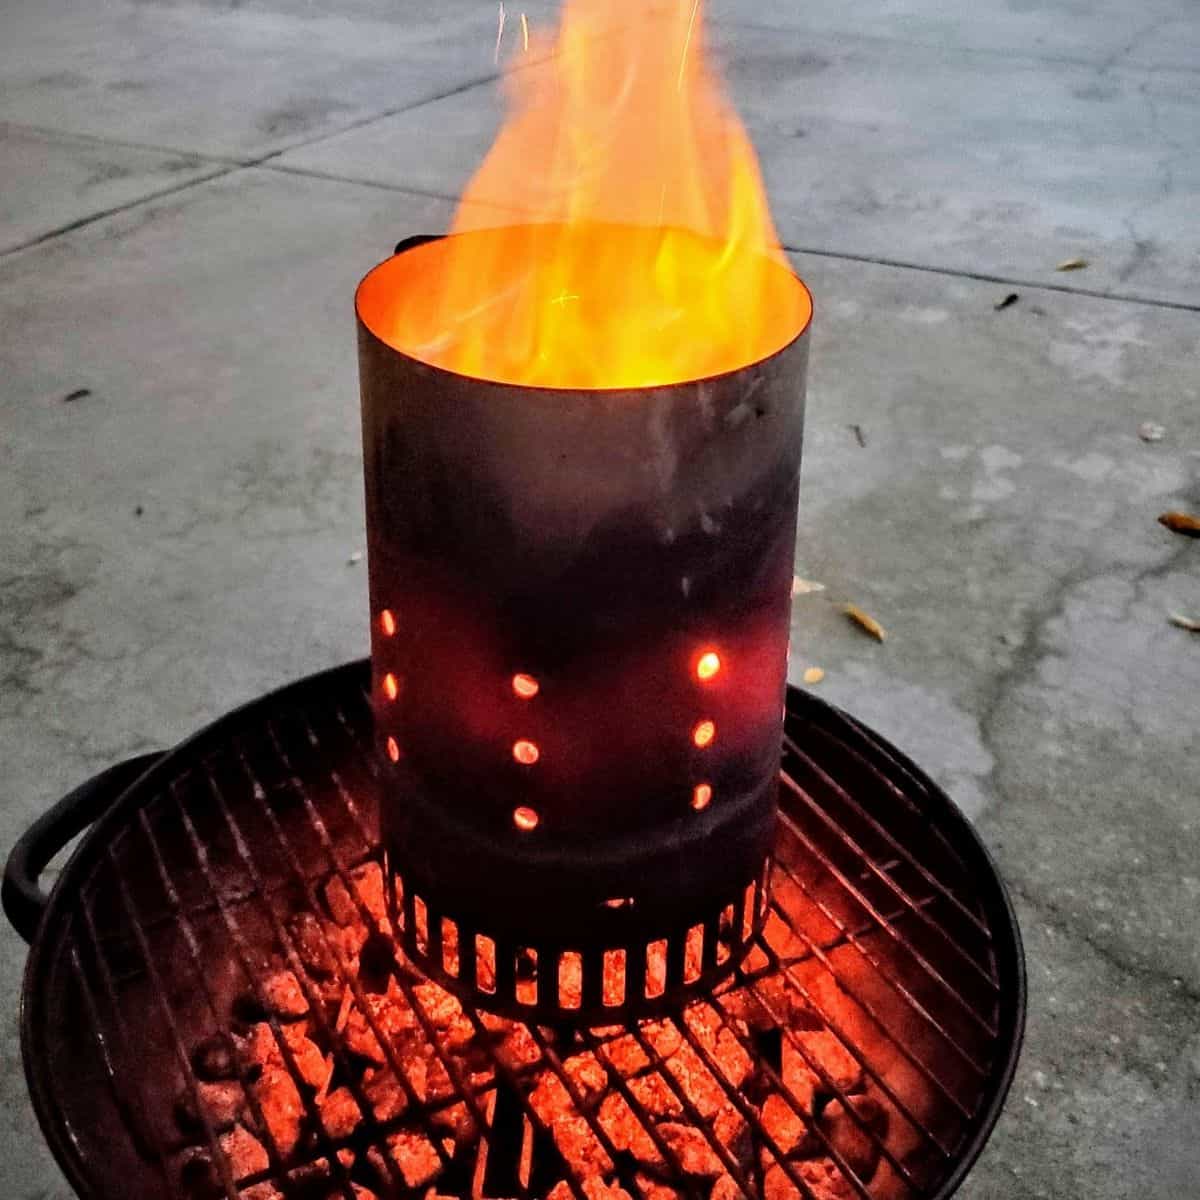
I recommend a charcoal chimney to get your coals lit. Fill the chimney around ¾ full and light your coals. Check out my accessory guide at the bottom of this post for more on charcoal chimneys and fire starters!
After around 15-20 minutes the coals should be burning bright orange and have a layer of ash on them. That's when they're ready to use.
For longer cooks (6 hrs and up), add a pile of unlit coals to your smoker. Then dump the lit coals on top and add a few chunks of wood. As the lit coals burn down they will ignite the unlit coals giving you a longer burn time without having to refuel.
It takes some trial and error to figure out the right amount of unlit coals you need for this method, and the weather conditions will also play a factor in burn time. For me around 40 unlit coals, and a ¾ full chimney of lit coals, gives me about 6 hours of burn time on most days.
After adding the coals, fully open the air vents to allow maximum airflow and allow the smoker to preheat. When your cooker temperature is around 250°F, close them slightly.
Wait a few more minutes until the temperature stabilizes, then add the meat. Keep an eye on the temperature and adjust your vents as needed to maintain the heat around 225°F for most meats.
Add more unlit coals as needed to keep the fire going. And if your temp drops too much, light a small amount in the charcoal chimney and add them in hot to add heat more quickly.
Best Meat to Smoke for Beginners
Now that you know a little bit about smokers, and how to use them, you'll need to decide what type of meat you want to cook. Pork and beef are the most common choices, with chicken rounding out the top three.
Fatty cuts are the best choice for beginners. Much of the fat and collagen will render out during the cook, which helps keeps the meat juicy and tender.
Pork
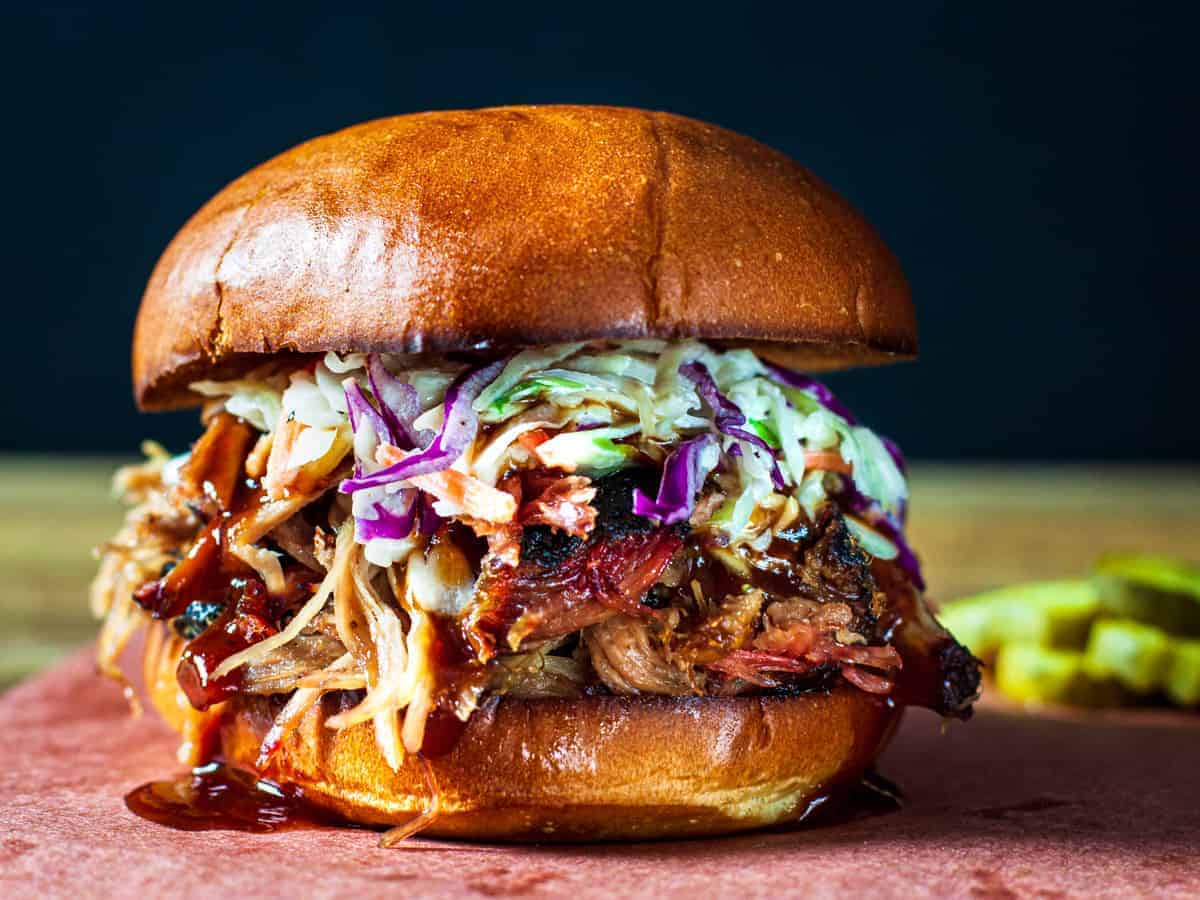
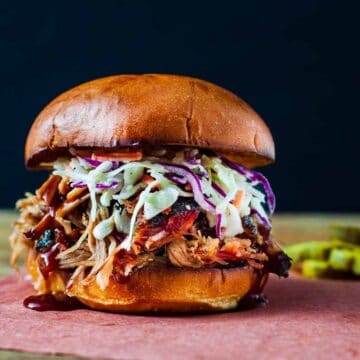
A pork shoulder, known as a pork butt or Boston butt, is the best meat to start with if you are new to smoking meat. Pulled pork from this cut is the first thing many people think of when they think "barbecue", and it's a great choice for your first time cooking on a smoker.
Pork butt is very forgiving thanks to the thick, even shape and a large amount of intramuscular fat. The most difficult thing about smoking pork butt for a beginner is usually the timing.
When the meat reaches around 145-150°F, the fat starts rendering out, and the cooking process slows dramatically. This is known as the "stall" and can last for several hours. So a typical 6-8 pound pork butt will generally take around 12-16 hours to cook.
This can be nerve wracking for beginners and experienced cooks alike, especially as serving time approaches. So plan accordingly and always leave yourself some wiggle room. Check out my post on pulled pork for all the details on making the perfect pulled pork barbecue!
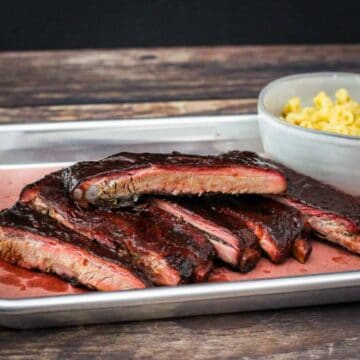
After you've mastered smoked pork butt, another great choice for smoking pork is ribs. Smoked spare ribs and baby back ribs are always crowd favorites and can be cooked in around 6 hours. I recommend starting with St. Louis cut spare ribs. They're a little more forgiving and more flavorful than leaner baby backs.
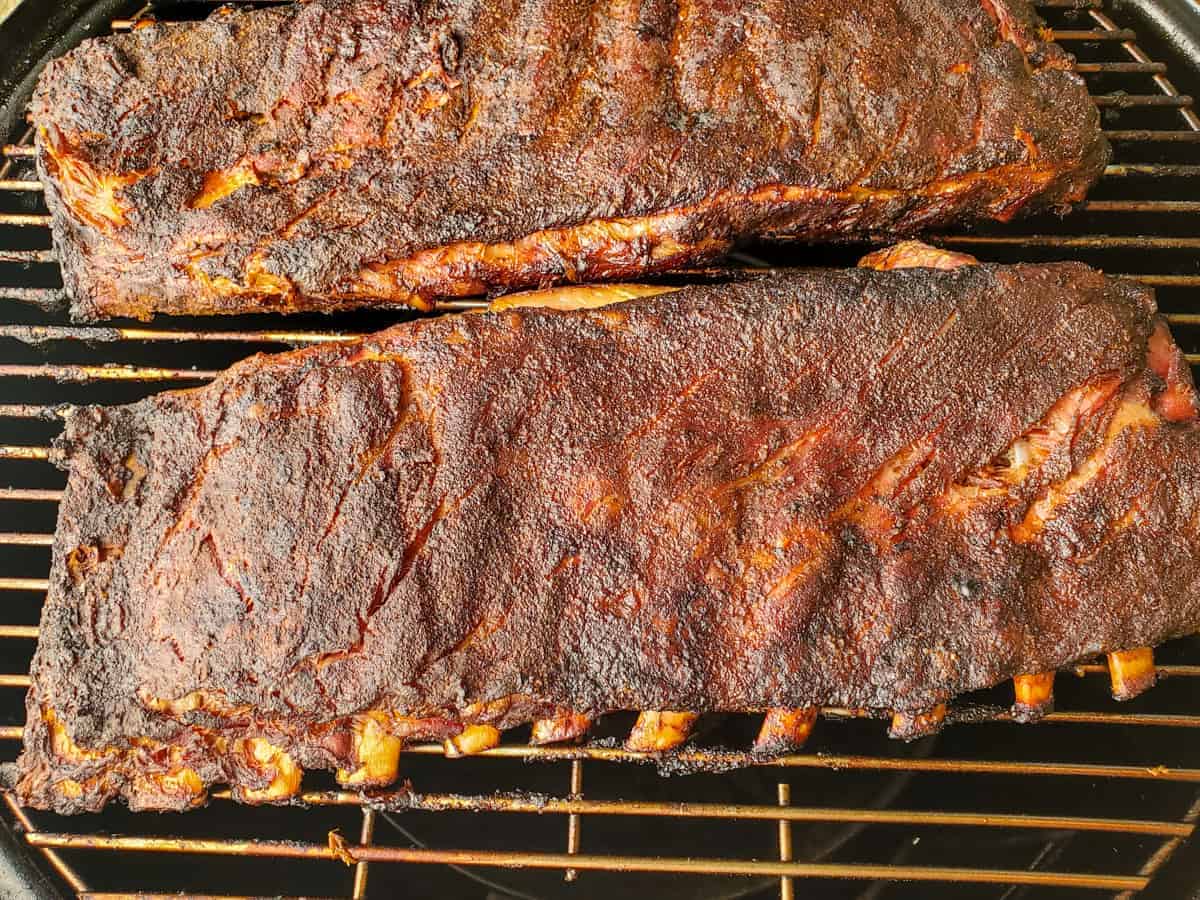
The 3-2-1 method for cooking pork ribs is a popular choice for many pitmasters. In this method, you cook the ribs for three hours, then wrap them in foil or butcher's paper and cook for 2 hours. Finally, you remove the wrap and cook for 1 more hour.
This method is an easy way to produce tender, fall off the bone ribs that most people love. Check out my post on smoked ribs for the details and my variation on the 3-2-1 method.
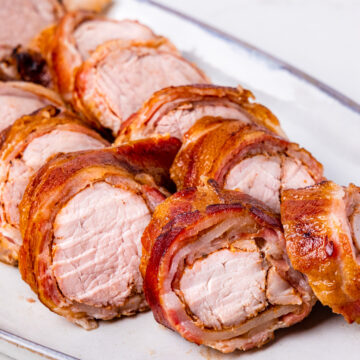
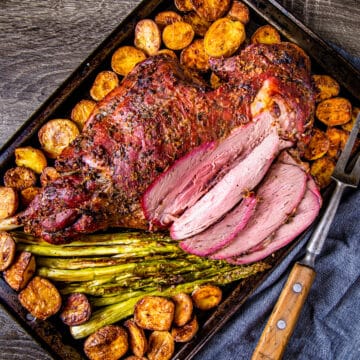
Don't stop at pork butt and ribs though. There are many other delicious smoked cuts of pork. Smoked pork tenderloin is perfect for a quicker cook. And a smoked ham is a delicious way to prepare a holiday meal.
Beef
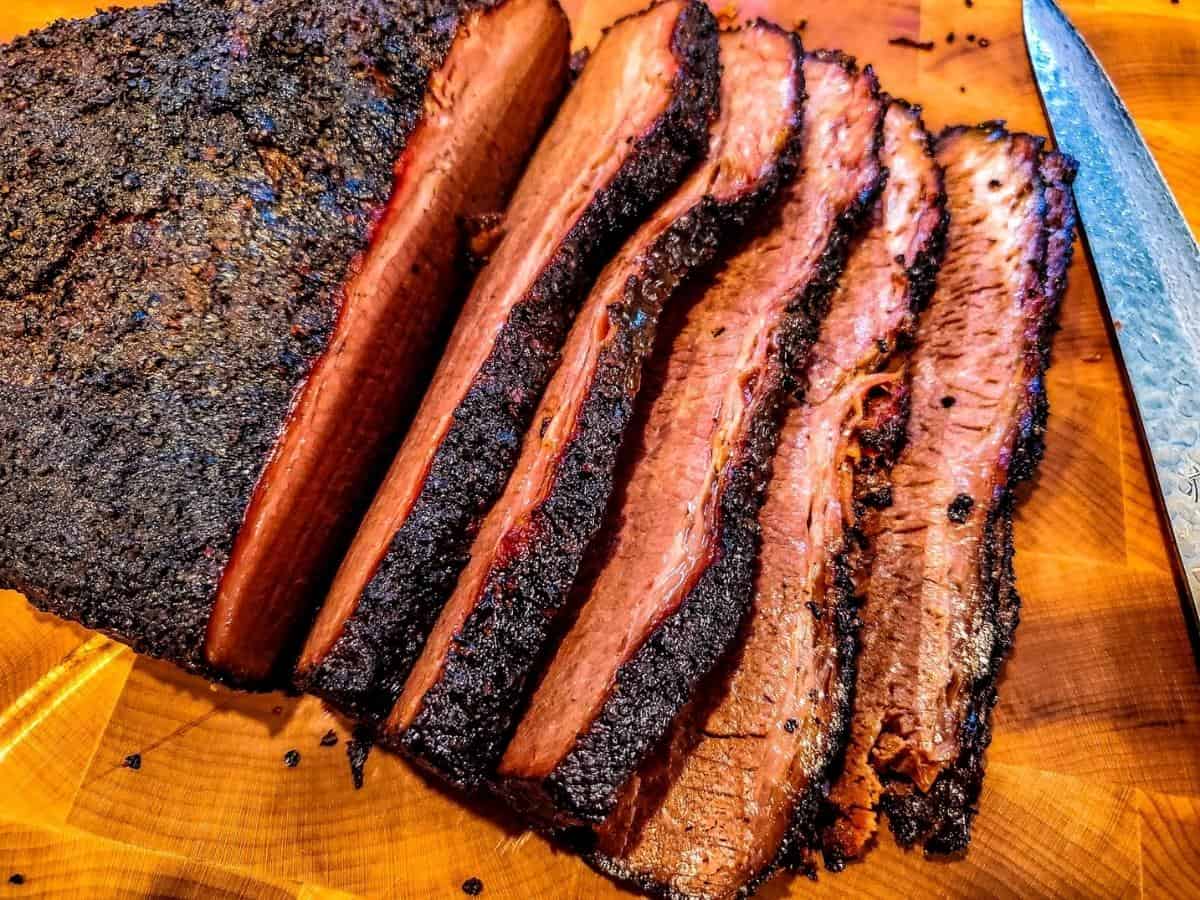
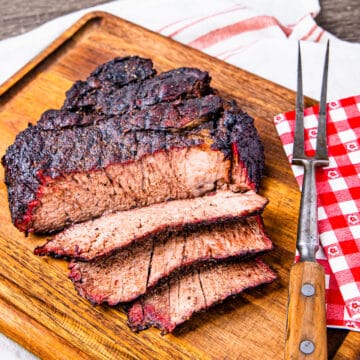
Beef is another one of the most commonly smoked meats. Low and slow cooking is the perfect match for many rich and flavorful, but tough cuts of meat, like brisket.
During the long slow cook, the fat and connective tissue break down, resulting in delicious tender meat. Cuts like short ribs and chuck roast that are commonly braised are also amazing when smoked.
Beef has a reputation of being a little tougher to master though. One issue is that many novice cooks start out with a brisket flat from their local supermarket.
The brisket flat is a fairly long, wide, thin cut and most supermarket brisket will be choice grade, which is relatively lean. Processors also often make awkward cuts or remove too much of the fat cap when they break down the flat. These briskets tend to dry out over the long slow cook that is required to make the meat tender.
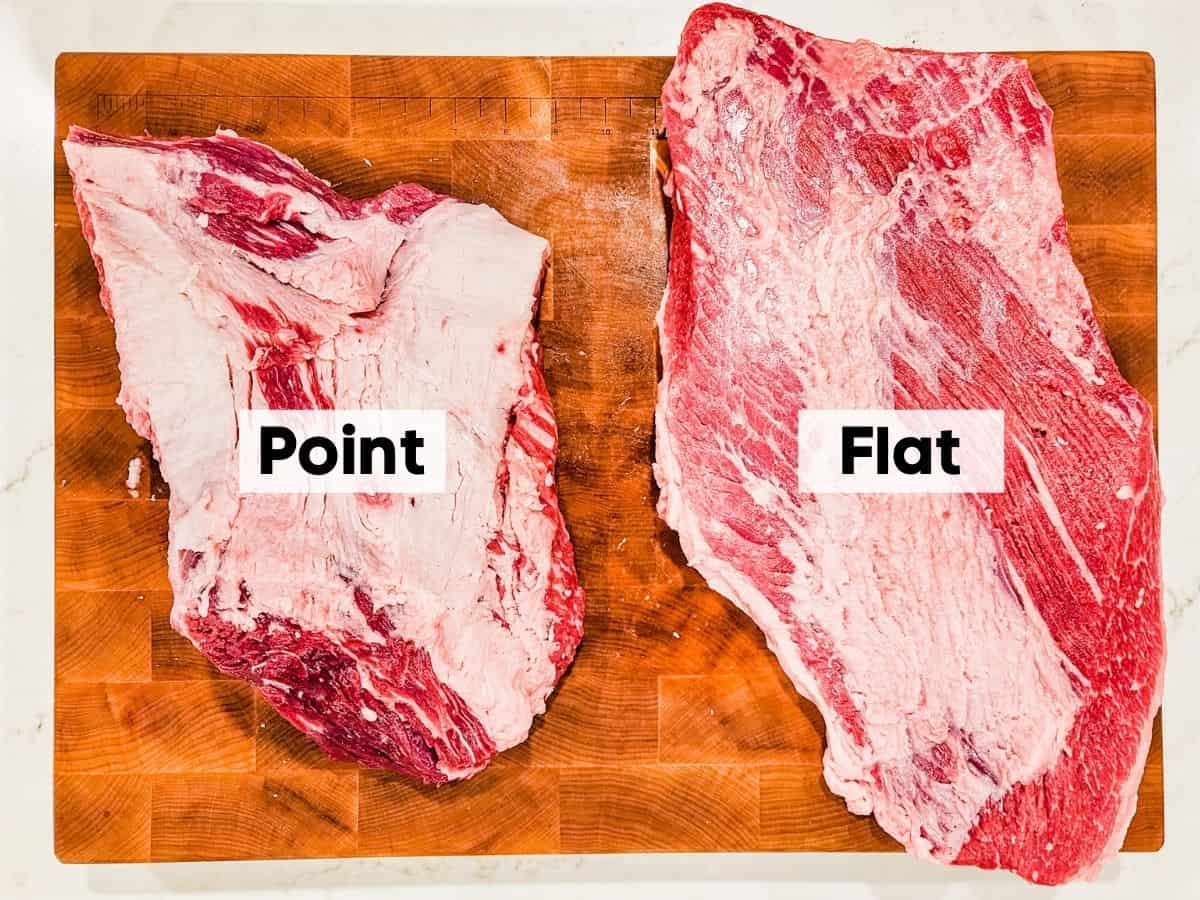
I highly recommend visiting a butcher shop and getting an expertly trimmed, prime-grade brisket. These will be a little more expensive but the additional marbling makes them much more juicy and flavorful. Wrapping the beef for a portion of the cook will also help retain moisture.
A well-marbled chuck roast is also a good option when starting out, or for serving a smaller crowd. They have a similar rich, beefy flavor to brisket, but the smaller size makes for a quicker cook so it's less likely to dry out. Check out my smoked chuck roast recipe to get started!
Other, more tender cuts of beef can also benefit from a little time in the smoke. Tri-tip is a favorite for Santa Maria style barbecue in the central coast of California. And roasts like smoked rib roast have a whole new level of flavor when cooked in a smoker.
Another great economical option is smoked meatloaf. This classic comfort food tastes amazing when cooked on your smoker!
For leaner, more tender cuts I recommend cooking them to the temperature you like your steak, and not like barbecue. For me, that's around 135°F for medium-rare.
Chicken
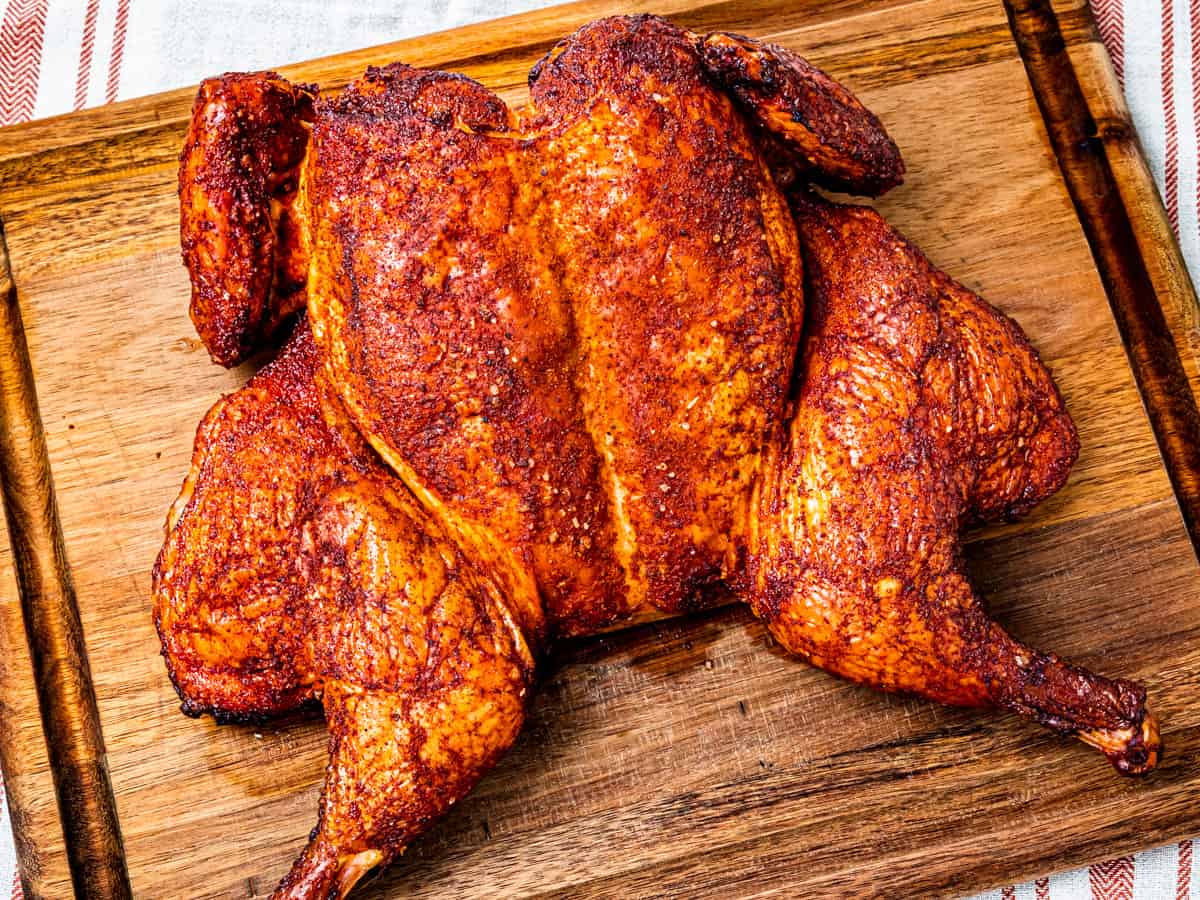
Chicken is also great on the smoker and is a good choice for a quicker cook. When I do a long cook like brisket or pork butt, I almost always put on a chicken or two towards the end. It's a great way to offer some variety to your guests, or to meal prep for the week, with very little extra effort.
When smoking chicken I recommend using a whole chicken and removing the backbone or "spatchcocking" it. This will help it cook more quickly and evenly, and helps avoid drying out the delicate white meat. Check out my post on smoked whole chicken for details on how to spatchcock a chicken and cooking instructions.
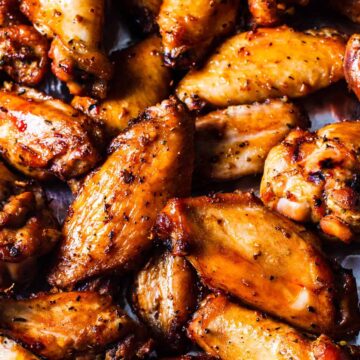
Smoked BBQ chicken legs, leg quarters, and chicken wings are other good options for beginners. They are all much more forgiving than lean chicken breast.
Turkey
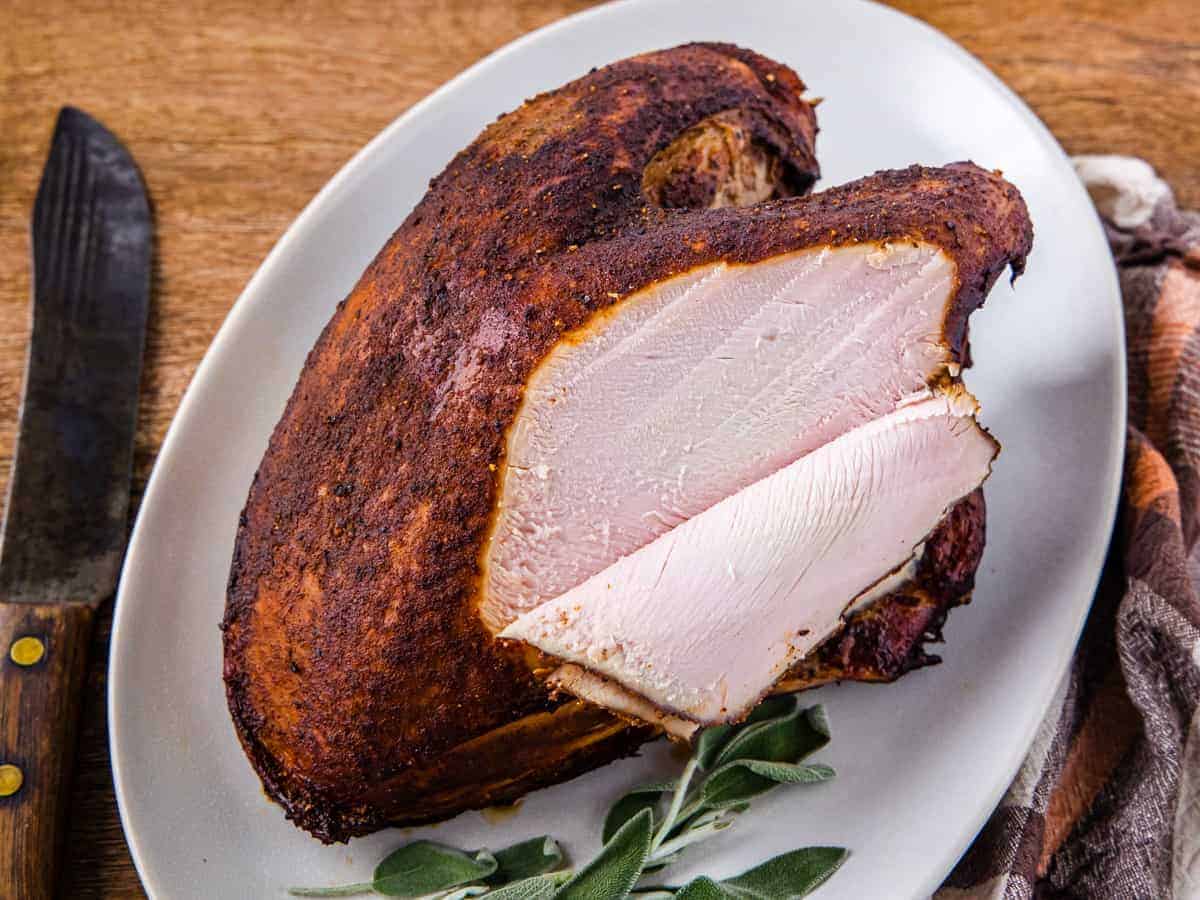
Sticking with poultry, turkey is also amazing when smoked. You've probably had smoked turkey deli meat, but making it yourself is easy, and so much better than processed deli meat.
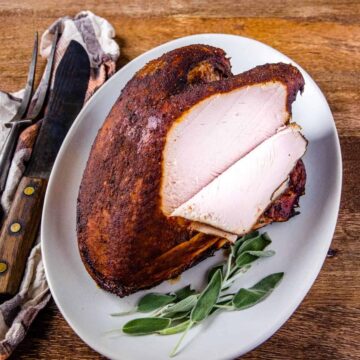
My smoked turkey breast recipe is one of the most popular recipes on the site. It's a great option for a holiday meal, but also great for slicing thin and using as sandwich meat for some AMAZING turkey sandwiches!
Smoked turkey legs are a classic at carnivals, fairs, and theme parks, but also easy to make right at home, in around 3 hours.
Turkey wings are also great for the smoker. You can use my smoked chicken wing recipe to get started. The cooking time will be just a little longer than chicken wings, but everything else is the same.
Seafood
There are two basic methods for smoking seafood; hot smoked and cold smoked. Hot smoked seafood is, as the name implies, smoked at a higher temperature around 150-185°F. Cold smoked seafood is cooked around 70-85°F.
Most home cooks go the hot smoked route. Fattier fish like salmon and trout are some of the most common choices. Mackerel is another good choice.
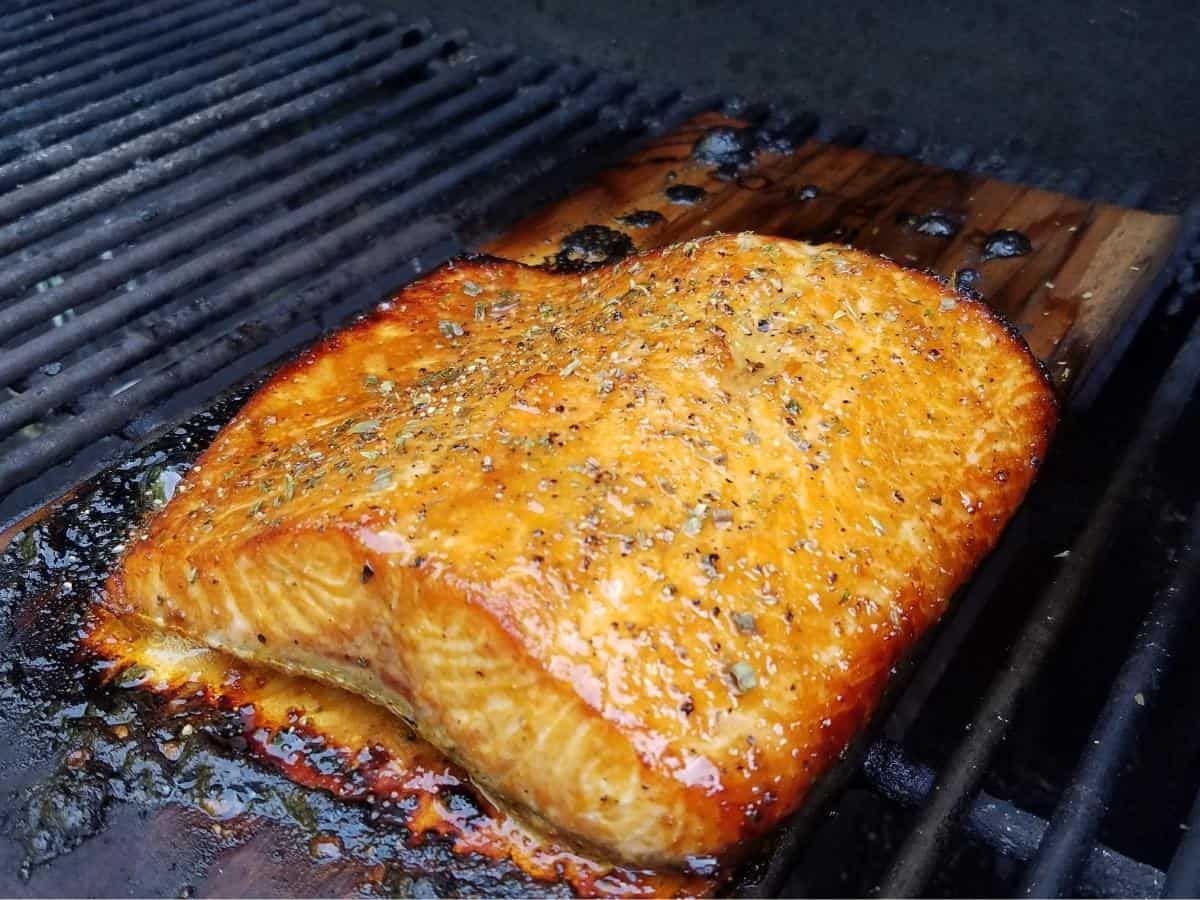
Though, not low and slow smoking, cedar plank salmon is another great option for smoked fish.
This is done by placing the salmon on cedar planks set over medium to medium-high heat. The planks char as the salmon cooks adding a delicious smokey flavor to the salmon, and is one of my favorite ways to prepare salmon.
Other Meats
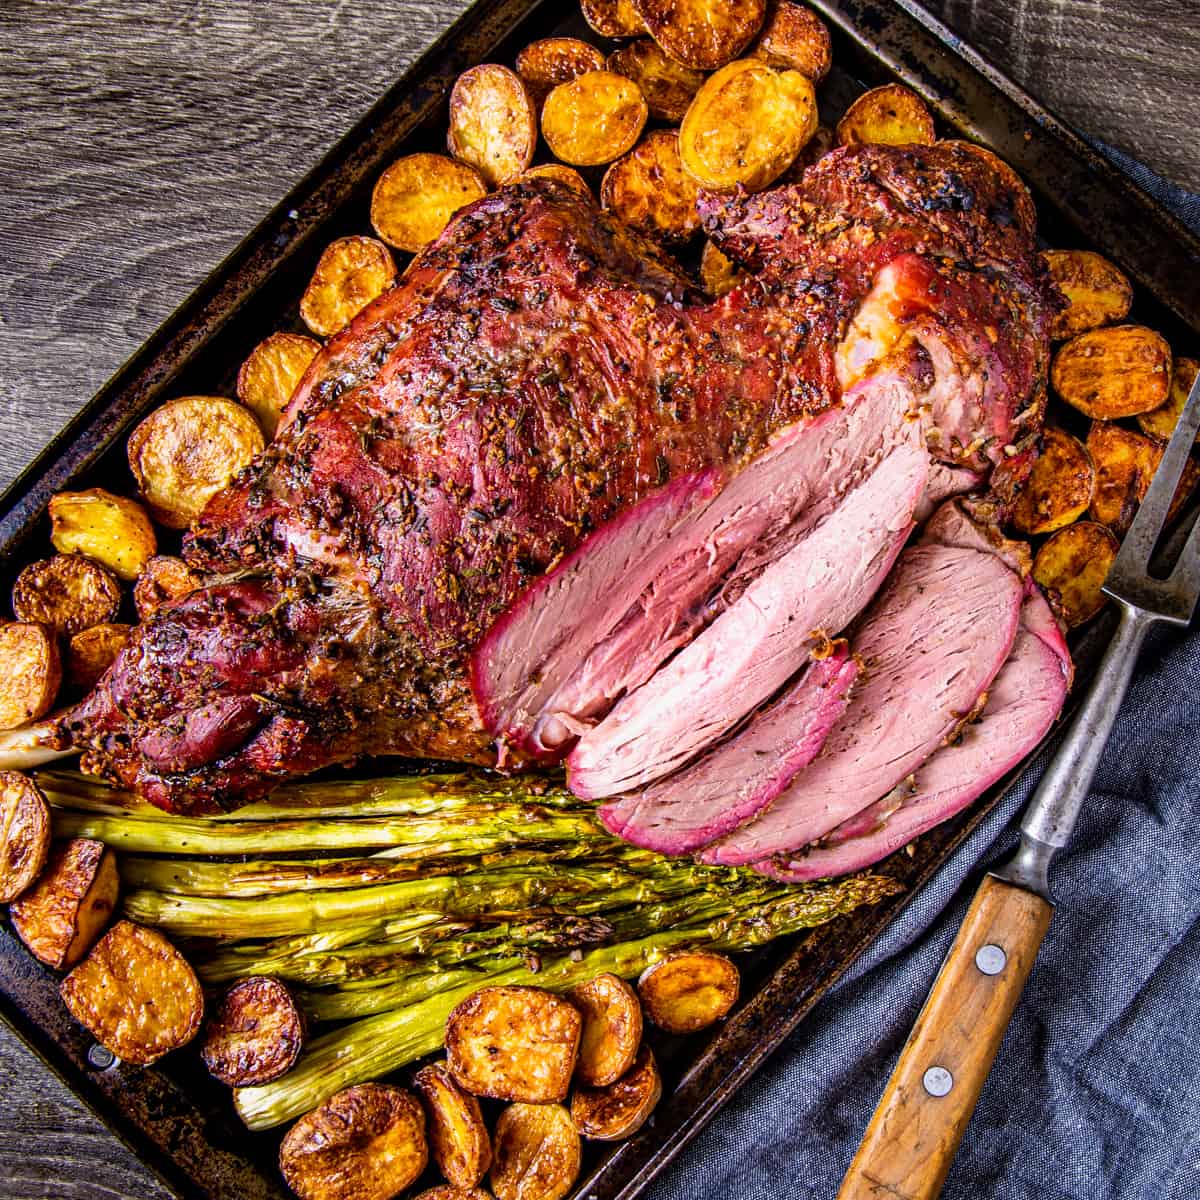
Don't limit yourself to the basics though. Many other types of meat and even vegetables are great on the smoker too!
Here are a few tasty options to try:
What Seasoning to Use for Smoked Meats
Rubs
Most smoked meats are seasoned with a dry rub. The simplest rub, commonly used for beef, is a blend of coarse salt and pepper. Paprika is another very common ingredient, as are allium seasonings like garlic and onion powder. Brown sugar is also common in sweet rubs.
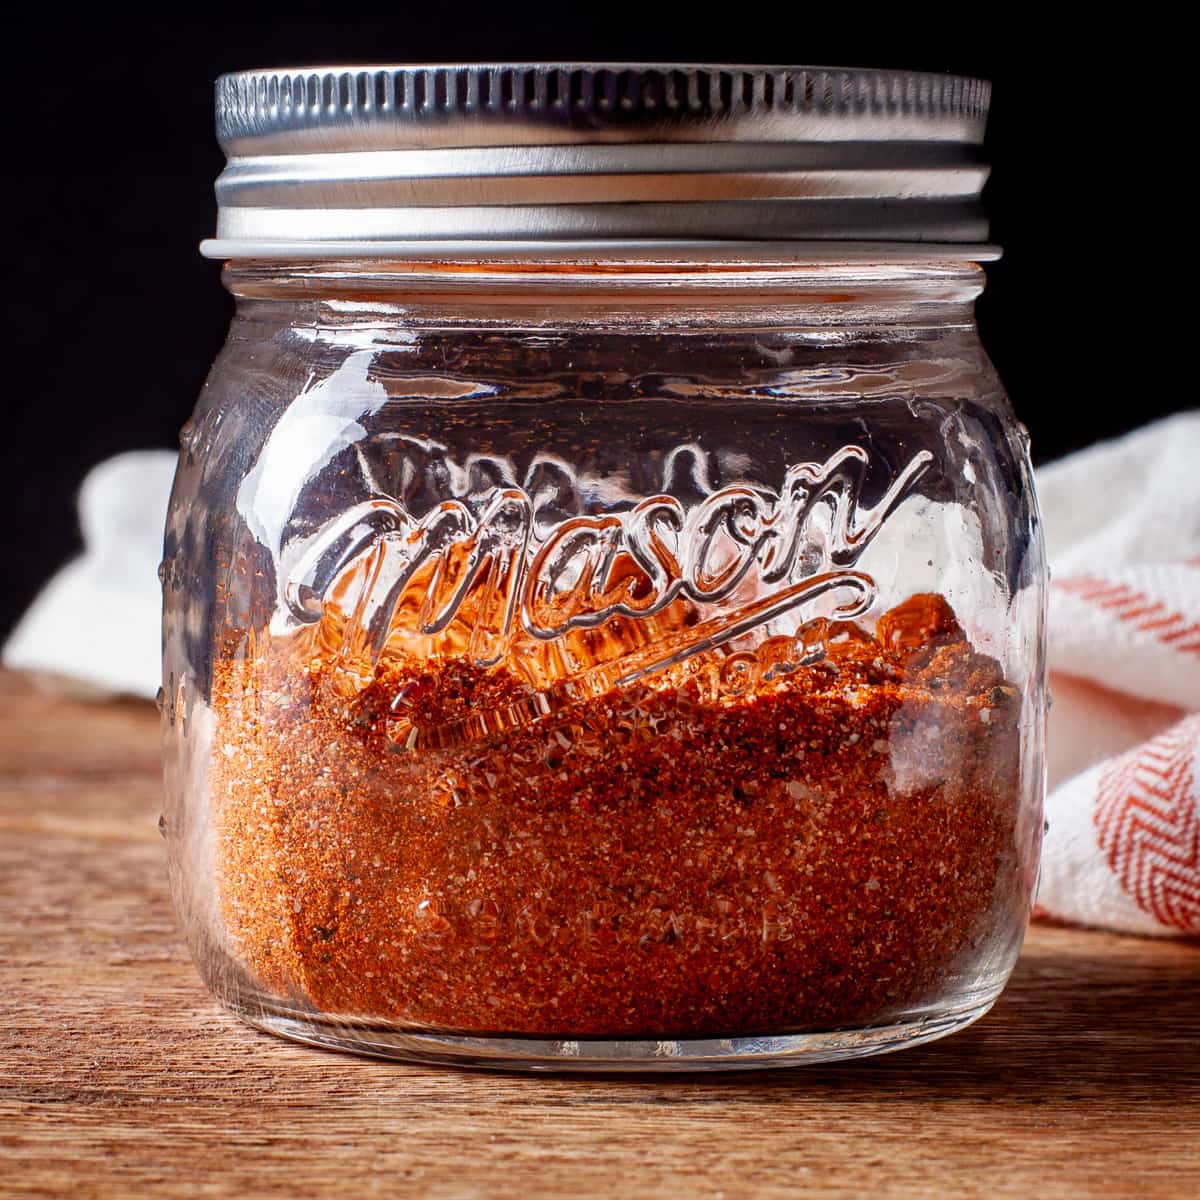
For smoked beef, I typically use a mixture of around 50% Kosher salt, 40% coarse ground black pepper, and 10% garlic powder. For pork and chicken, I use my all-purpose barbecue dry rub which is sweet and savory, with a mild spice level.
Most rubs are made with ingredients you probably have on hand, so I recommend making your own to avoid the markup and fillers in many commercial rubs. It's also easy to customize the flavor to your taste by tweaking the ingredients.
If you don't want to make your own, I recommend using a high quality brand like Meat Church. I have no affiliate relationship with them but I am a big fan of their rubs.
I typically season my meat with a dry rub the day before cooking and refrigerate it. This is known as a dry brine. The salt from the rub pulls out the moisture from the meat, which gets reabsorbed and pulls in the seasoning.
Brine
Some cooks choose to use a wet brine or injection to season the meat and add more moisture. Turkey and chicken are good candidates for a wet brine. With this method, you submerge the meat in a seasoned liquid to flavor it.
Injection
Pork and brisket are good choices if you want to try an injection. With this method, you inject seasoned liquid into the meat to add moisture and flavor. Check out this basic pork injection post for all the details.
Cooking Temperatures for Smoking Meat
Smoked meats are typically cooked at a relatively low temperature for a long period of time. You're likely familiar with the phrase "low and slow" in reference to cooking barbecue.
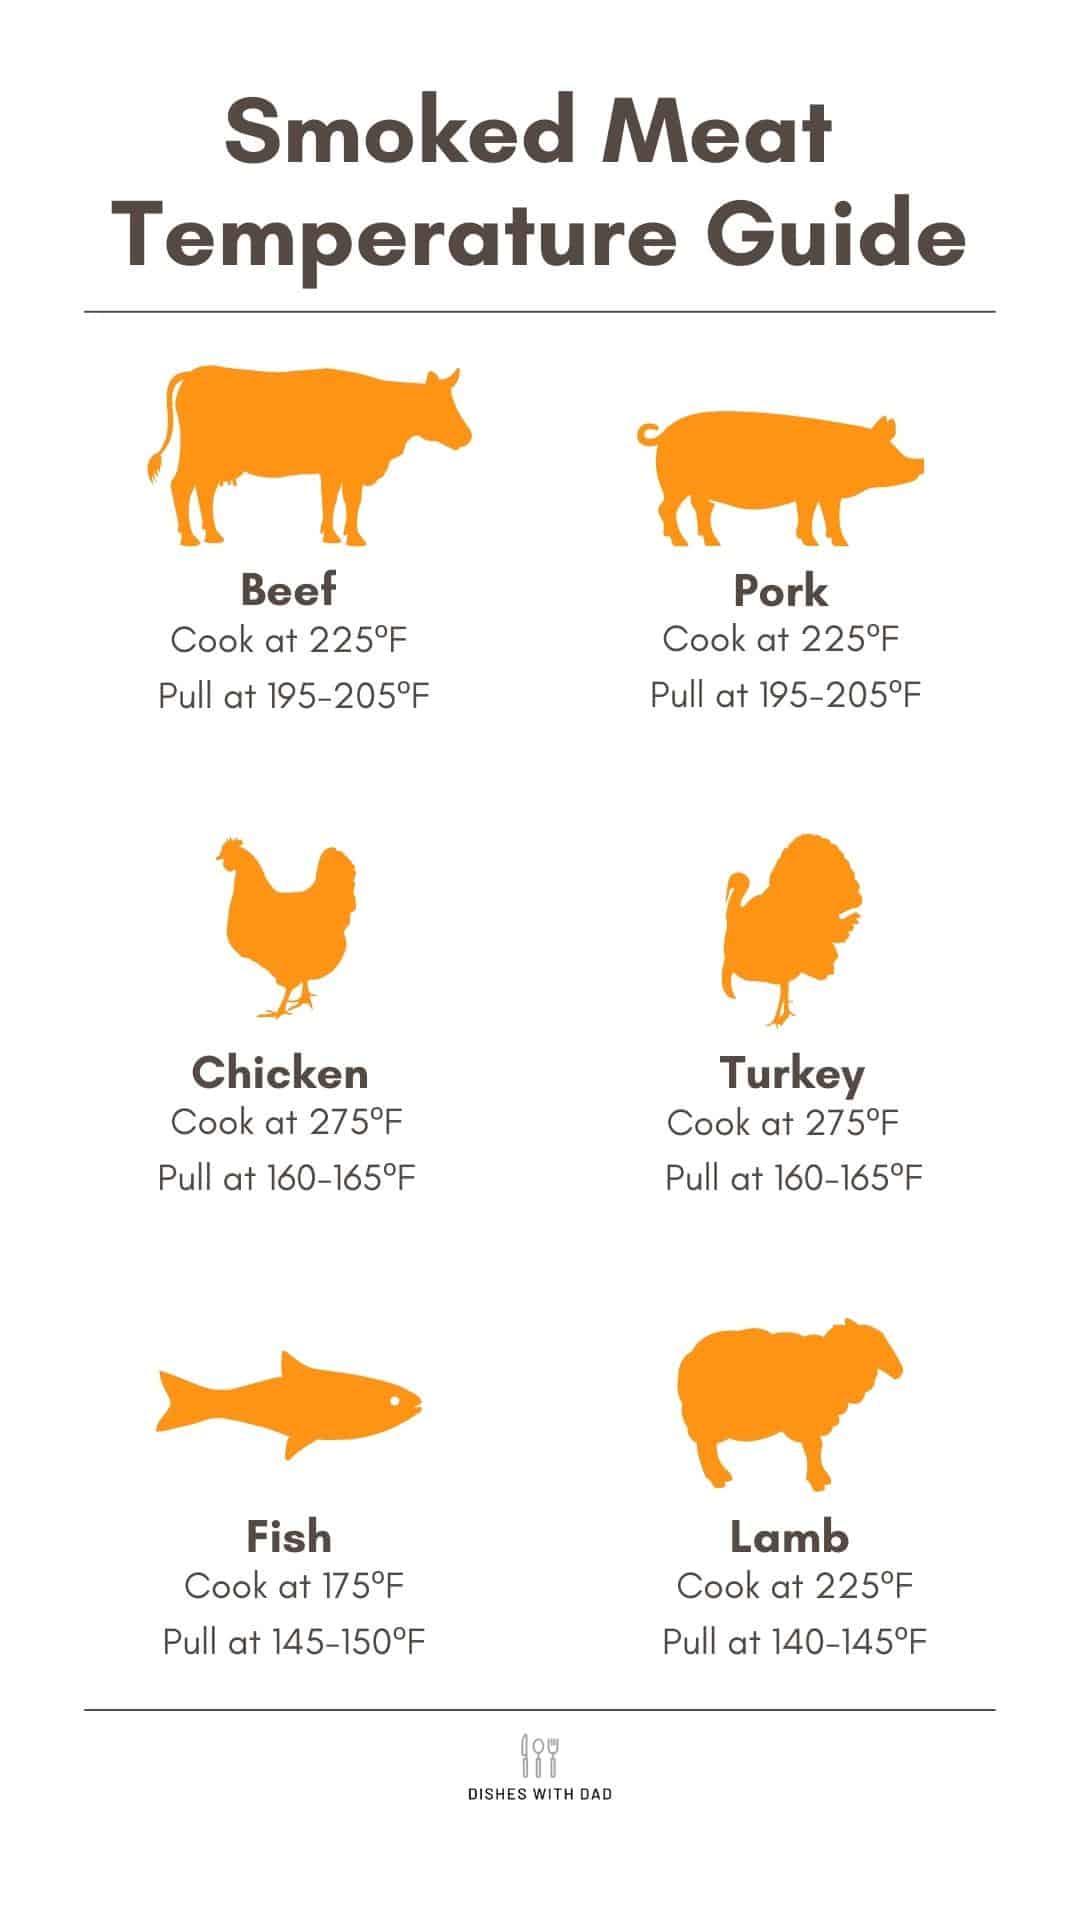
A cooking temperature of 225°F is most common for pork and beef.
For leaner meats, like chicken or pork tenderloin, I recommend a slightly higher temperature of 275°F to help avoid drying out the meat.
Keeping a consistent temperature is key, so it is important to monitor the cooker temperature and make adjustments as needed.
I highly recommend using a digital thermometer with a temp probe to monitor the ambient temperature of your cooker instead of relying on any built in gauges on your grill. They are notoriously unreliable. See the accessory guide down below for links to my favorites from Thermoworks.
Smoked Meat Finished Temperatures
Cooking to temperature, and not time is important when smoking meat. Environmental conditions, like air temperature, humidity, and wind, can affect the cooking time. And each piece of meat is slightly different, with different shape and fat content, and will cook at different rates.
Beef and Pork
For beef and pork, I usually cook to a temperature between 195-205°F unless it's a leaner cut like pork tenderloin or tri-tip. With those cuts, I cook them to grilling temperatures, around 135°F for beef and 145°F for pork tenderloin.
Poultry
When smoking chicken and turkey, I pull the meat at around 160° so they will rise to a final temp around 165°F as the meat rests.
Importance of Resting
No matter what meat you smoke, it is critical to let the meat rest after cooking it. This allows the juices to redistribute and produces more tender, juicy meat.
For brisket and pork I wrap the meat in foil, then place it in a cooler (no ice!) and let it rest for 30 minutes to an hour. For other meats 20 to 30 minutes is enough.
Here is a quick reference guide for temperatures for smoking different types of meat:
Types of Wood for Smoking
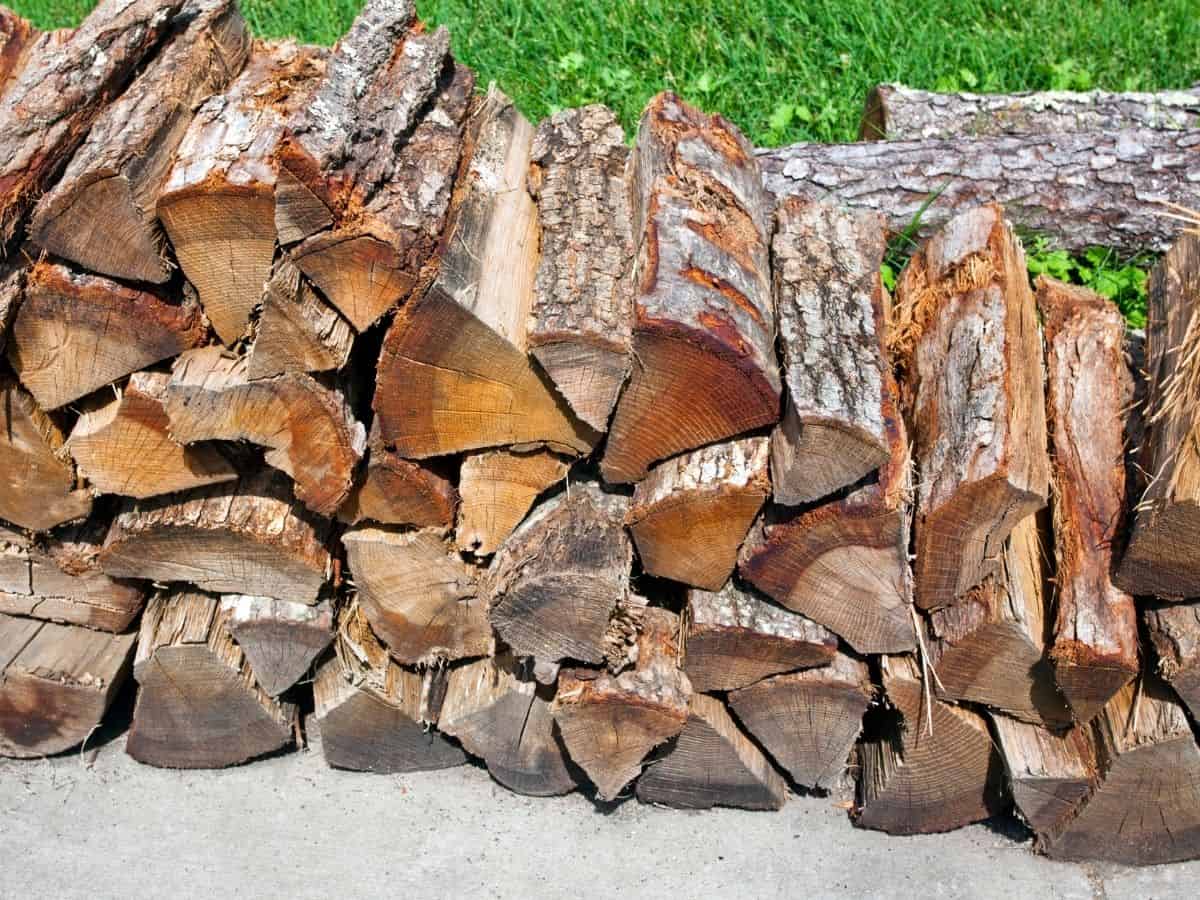
Wood Varieties for Smoking
There are many wood species commonly used for smoking. Each has different characteristics that go better with different meats or regional styles of barbecue.
- Alder - Mild flavor that pairs well with delicate meats like chicken and seafood.
- Apple - Mild, sweet flavored smoke. Pairs well with pork and chicken.
- Cedar - Strong flavor that is best for use as cooking planks, like cedar plank salmon.
- Cherry - Mild to medium, sweet smoke similar to apple, but with richer flavor.
- Hickory - One of the most commonly used all-purpose woods. Medium flavor.
- Maple - Mild flavor pairs especially well with chicken and turkey.
- Mesquite - Strong, bold flavor best used for large rich cuts like beef brisket, but also good for short cooks like steak.
- Oak - Medium flavor that goes well with pork and beef. Post oak is commonly used in Texas barbecue, while red oak is common in California barbecue.
- Pecan - Mild to medium flavor. Good for all-purpose use.
I use a combination of hickory and applewood for pork and chicken, and oak or hickory for beef. But it's fun to experiment with other varieties to see how it affects the flavor.
Chips, Chunks, Pellets, or Logs
After you pick the type of wood you'll want to decide if you need chips, chunks, or logs. This will mostly depend on the type of smoker you are using.
Logs are generally only used in large offset smokers or barbecue pits. They are typically burned down to coals and then additional logs can be added during the cook.
For electric smokers, gas grills, and short cooks on charcoal grills you can use wood chips. On electric smokers, these typically get added to a smoke box. For gas and charcoal grills you can wrap them in a foil pouch and poke holes in the foil to allow the smoke to escape. Then set the foil pouch over your heat.
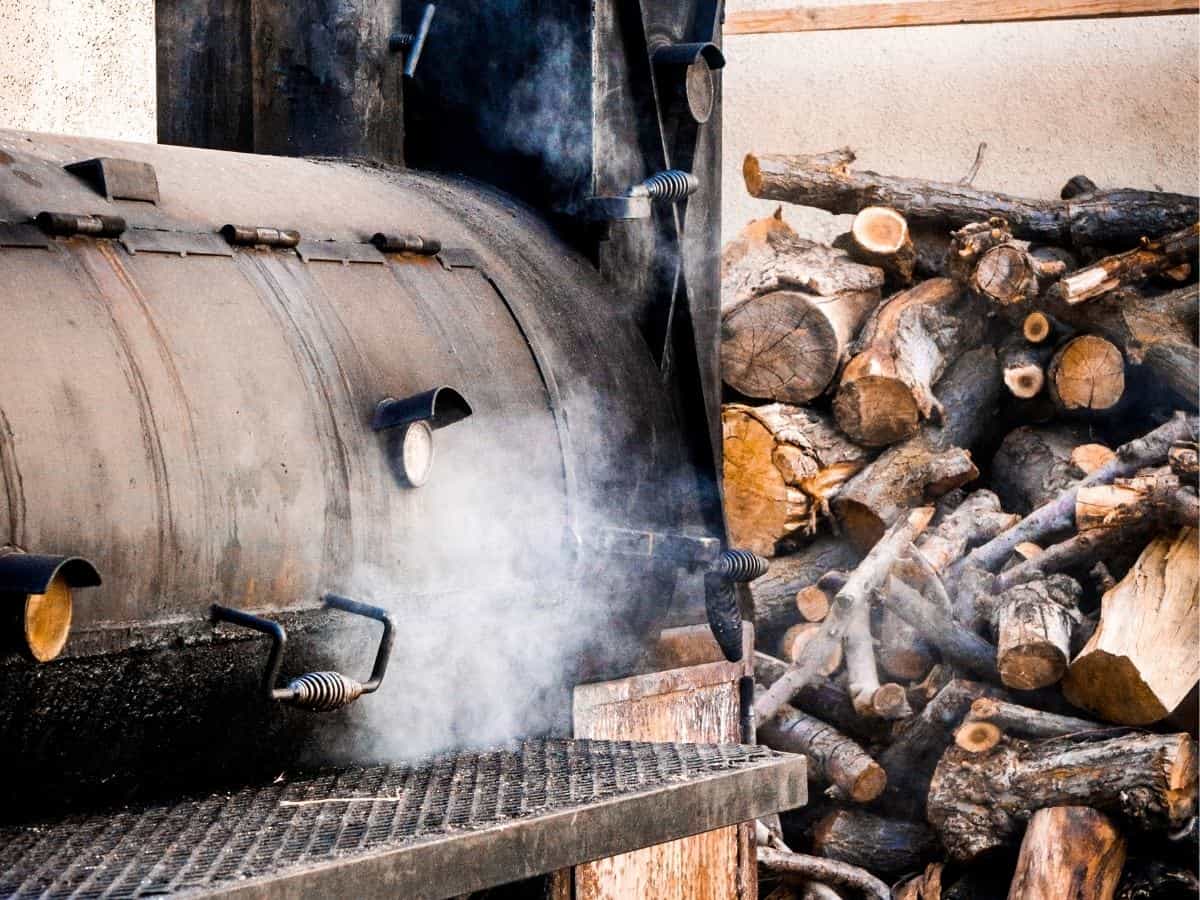
For offset smokers, drum smokers, and kamado grills chunks are the best option. The larger size chunks will smolder and are less likely to flare up than chips. They also burn longer and produce a more even smoke than chips.
For short cooks, a few wood chunks can be added on top of the hot coals.
For longer cooks it is best to mix some wood chunks in with a pile of unlit coals, then add lit coals to the top of the pile with a few more wood chunks on top.
The lit coals on top will burn down and ignite the unlit coals, and the wood, giving you a long cook time and consistent smoke.
Sauces for Smoked Meat
Sauces can be used to add an additional layer of flavor to your meat. They're also a great way to add back moisture if the meat has dried out a little.
Barbecue sauce is the most common type of sauce to add to smoked meats. There is seemingly an endless number of BBQ sauce varieties, many of which are regional. In fact in South Carolina alone there are three distinct sauce regions!
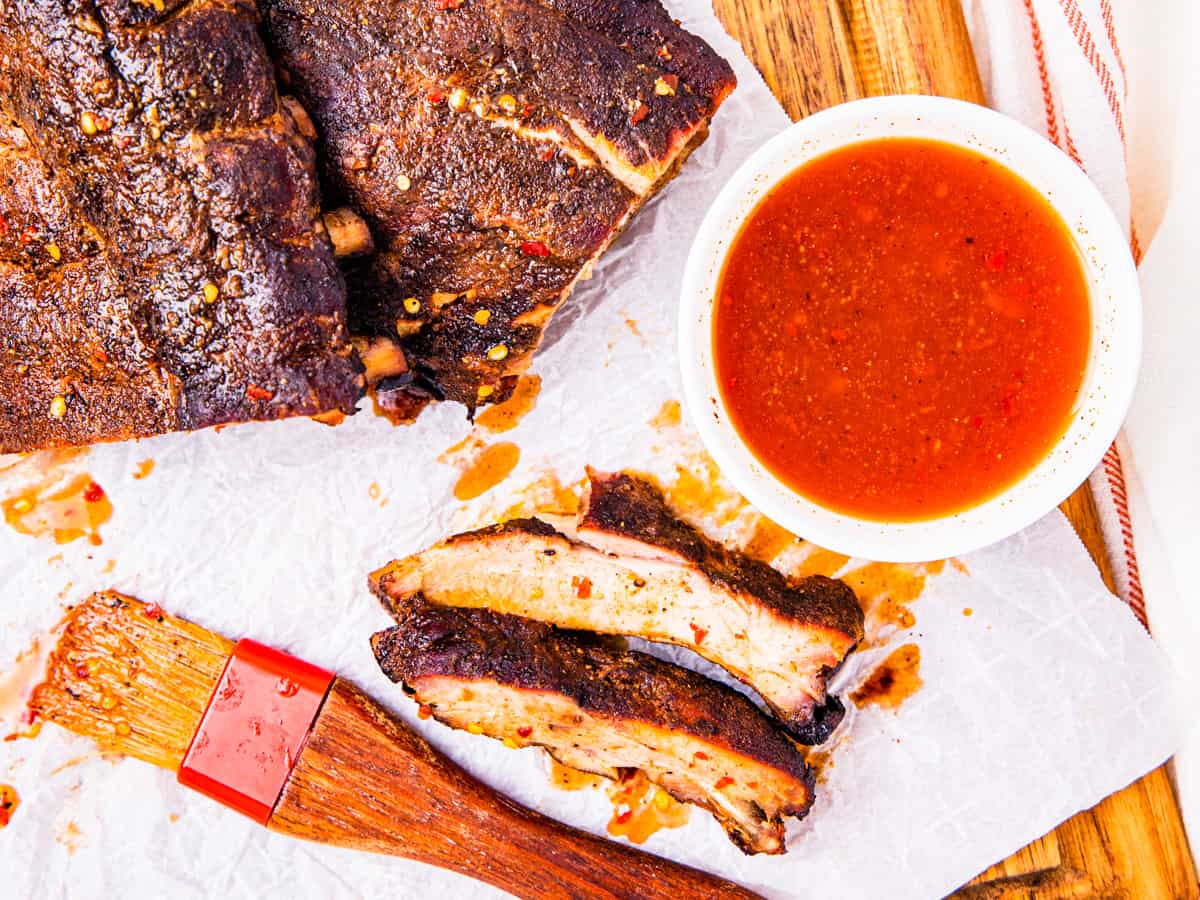
Basic Barbecue Sauce Styles
- Kansas City Style - Thick and sweet. This ketchup based sauce is probably the most common style of barbecue sauce. It's typically sweetened with brown sugar or molasses and has liquid smoke added as well.
- North Carolina Style - Thin and tangy. In North Carolina there are two styles, and the capital of Raleigh is the generally accepted dividing line.
- Eastern Carolina sauce is simply vinegar and spices, most often red pepper. The sauce is typically used to baste whole hog as it cooks.
- Western Carolina sauce, also known as "Piedmont sauce" or "Lexington dip", adds some ketchup and brown sugar to the vinegar and pepper base to balance out the flavor of the sauce and thicken it just a bit. Growing up in Charlotte, this style is my go to! Check out my recipe for North Carolina BBQ Sauce for details.
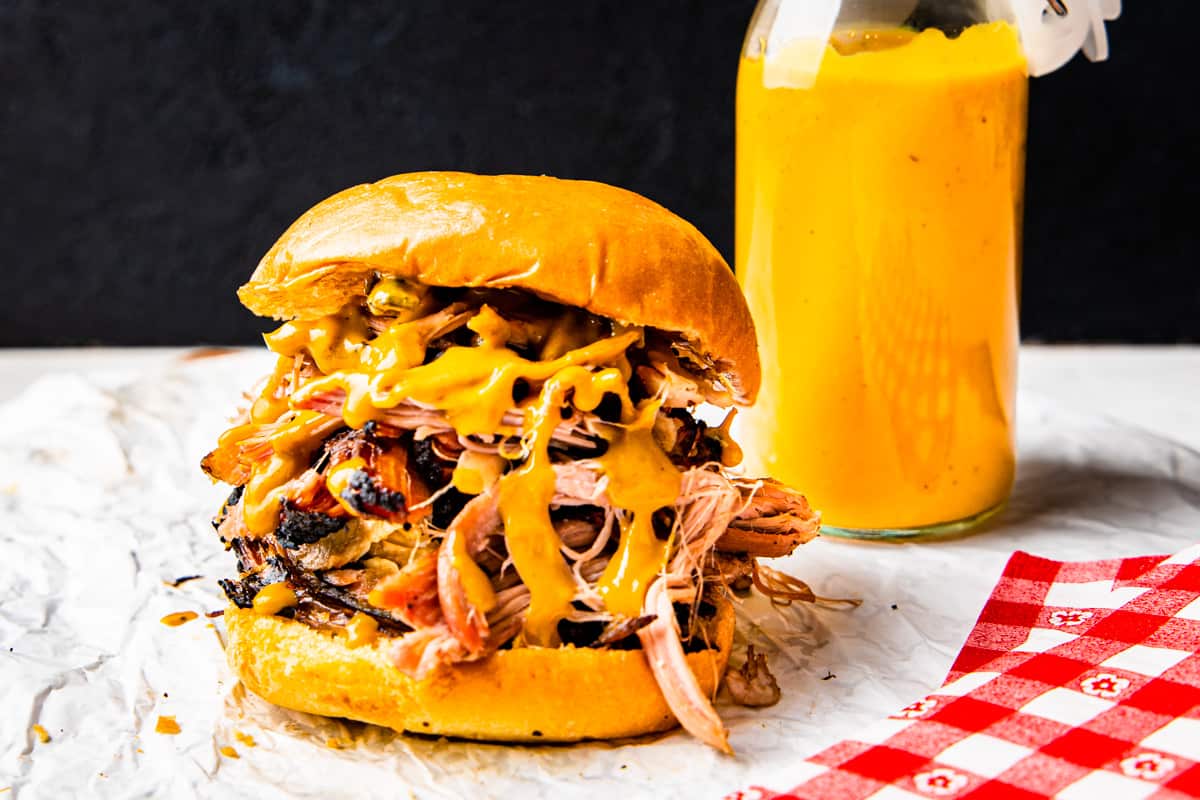
- South Carolina Mustard Sauce - Thick and savory. This sauce is common from the coastal low country region of South Carolina up to around Columbia. It is also known as "Carolina Gold" sauce and is mixture of yellow mustard, vinegar, sugar, and spices.
- Alabama White Sauce - This is a mayonnaise-based barbecue sauce with apple cider vinegar, horseradish, and spices. Alabama White Sauce was invented at Big Bob Gibson Bar-B-Q in Decatur, Alabama. It goes great on chicken and other grilled or smoked meats.
Best Accessories for Smoking Meat
Smoking meat takes practice to perfect. Learning things like maintaining your smoker's temperature in different weather conditions, selecting the best cut of meat, timing your cooks, and more, are all learned with experience. However, there are many accessories that can help make the job easier.
Thermometer
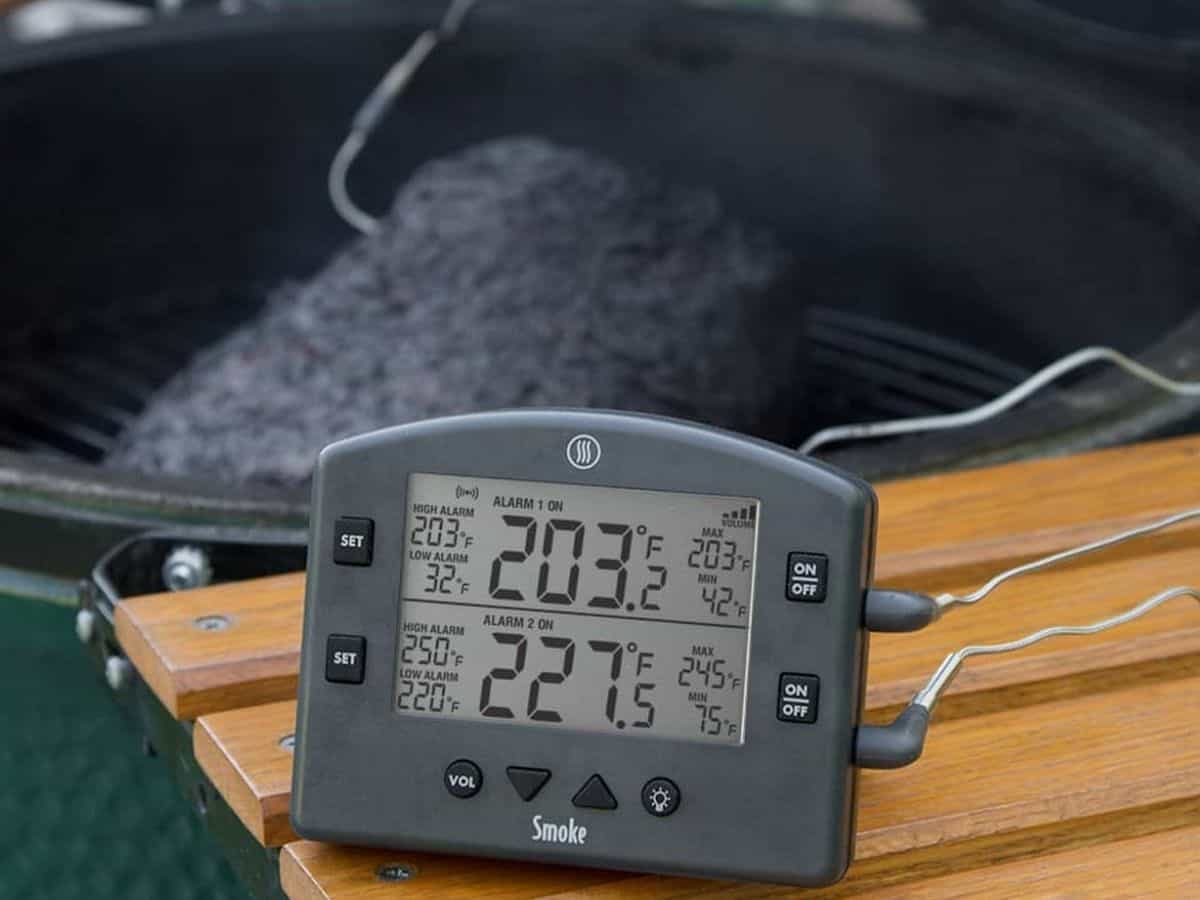
The number one accessory for anyone serious about smoking meat is a high-quality digital thermometer.
Look for a thermometer that has at least two probes. One to measure the temperature of your meat and another for your cooking temperature. Many smokers have built-in thermometers, but they are notoriously unreliable. In fact, some don't even list the temperature, just a target range.
I use the Thermoworks Signals which is a 4-channel model with Wi-Fi and Bluetooth connection to their app for easy access to monitor the temps. They also offer the Smoke line which is available with 2 or 4 channels.
Some thermometers can also control a small fan that you attach to your grill such as the Billows from Thermoworks. The fan and thermometer regulate the airflow to control the cooking temperature to maintain the temp you set. I use this on long, overnight cooks to keep the temp in line.
An instant-read thermometer is also a great addition to your BBQ tool kit. This will allow you to quickly check your meat temperature in different places to ensure even cooking throughout.
Charcoal Chimney
Many smokers use charcoal as the fuel. And a charcoal chimney is designed to quickly and easily get your coals burning. To use a charcoal chimney, fill it with coal and light a wad of newspaper or a fire starter underneath. The flames travel up through the bottom to ignite the coals.
Fire Starters
One of the trickiest parts of the job can be actually getting the fire going. But there are many different types of fire starters out there to make it easier.
- Electric lighter - Electric lighters like the Looft lighter are like a high powered hair dryer, delivering a stream of super hot air to start the coals.
- Lighter cubes - These small, fast lighting cubes burn slowly and light your coals. This is my go to option for lighting my charcoal chimney.
- Natural lighters - Natural options are also available such as tumbleweeds. These work similar to lighter cubes, but are made of tightly wound kindling.
- Propane torch - If you love playing with fire, this is the one for you! A propane torch connects to a propane cylinder or tank. Just light the torch and deliver a powerful flame to start your coals.
Other Accessories
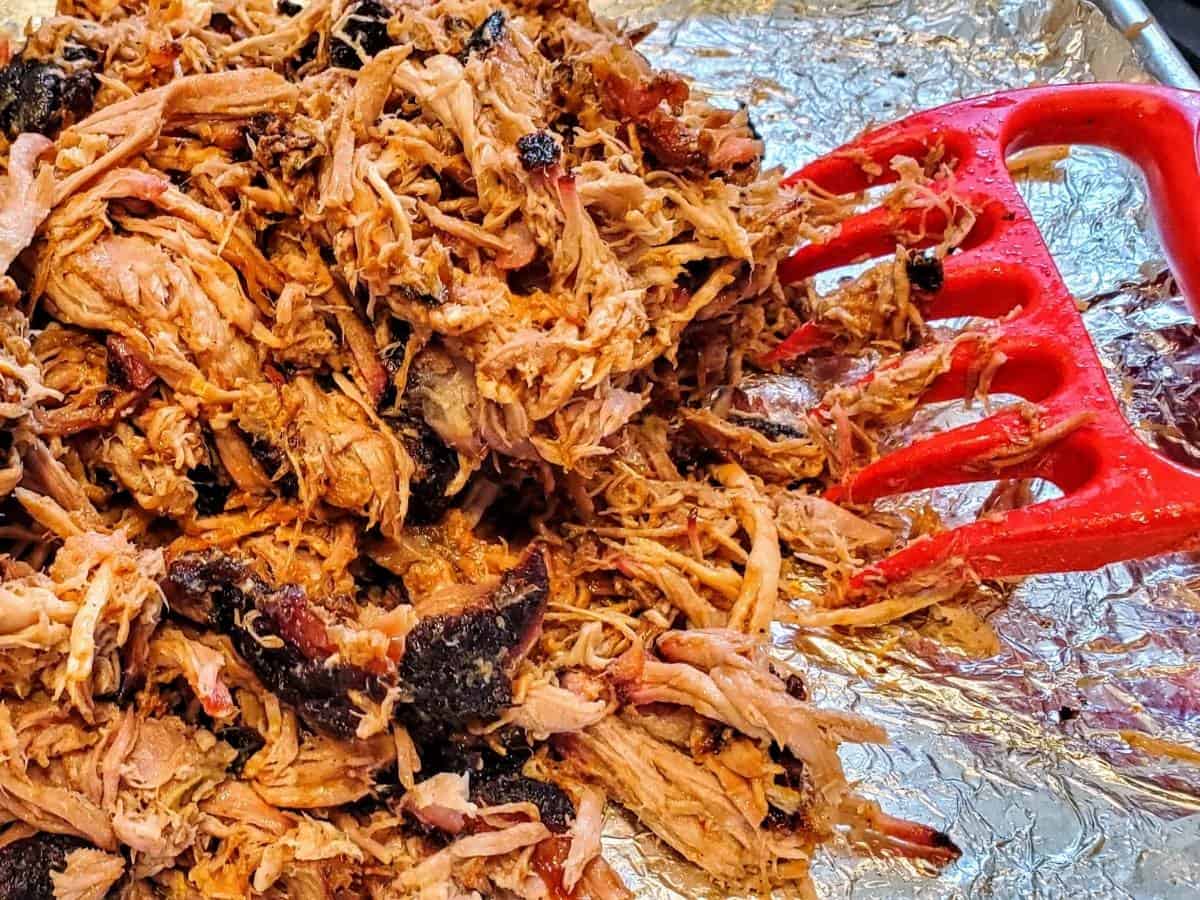
- Shredding Claws - These sharp claws are made for shredding meat. If you make a lot of pulled pork these are the way to go. Just grab one in each hand and shred away!
- Grill Brush - Another indispensable tool for smoking is a quality grill brush. Drippings and burnt on bbq sauce can be tough to remove from the grill after a long, slow cook, but a good brush makes it easy.
- Tongs - A long, sturdy pair of tongs is essential for smoking. They allow you to pick up larger cuts like a full rack of cooked ribs without them falling apart, so you can serve picture perfect barbecue.
- Sheet Pan - Sheet pans are another great smoking accessory you may not think of. They are great for containing your rub when you season your meat and transporting large cuts of meat to and from the smoker. And they're also great when shredding your pulled pork.
- High Quality Knives - A boning knife is the best tool for trimming fat from your meat or separating a brisket. A slicing knife is the best option for perfect slices.
Tips and FAQs for Smoking Meat
The answer to this question depends on how involved you want to be in the cooking process.
If you want a smoker that doesn't require much effort, a pellet grill or electric smoker will be best.
If you enjoy tending a fire and being more involved in the process an offset smoker, drum smoker, or kamado grill would be better.
Budget, space, and temperature range are other factors to consider.
Pork butt is the easiest meat to smoke for beginners. They are very forgiving, and after cooking a few pork butts you will have a better understanding of how to use your smoker.
Hickory is a great all-around choice for smoking meat. It has a medium smoky flavor and goes well with pork, beef, and chicken. It's also one of the most common woods used for smoking, so it will have a familiar classic smoked flavor.
Smoking meat to the proper internal temperature, not for a set amount of time, is key to producing high-quality barbecue. Use the temperature guide in this post as a quick reference for the most common meats. And always use a high-quality thermometer to check the meat in multiple locations.


Leave a Reply