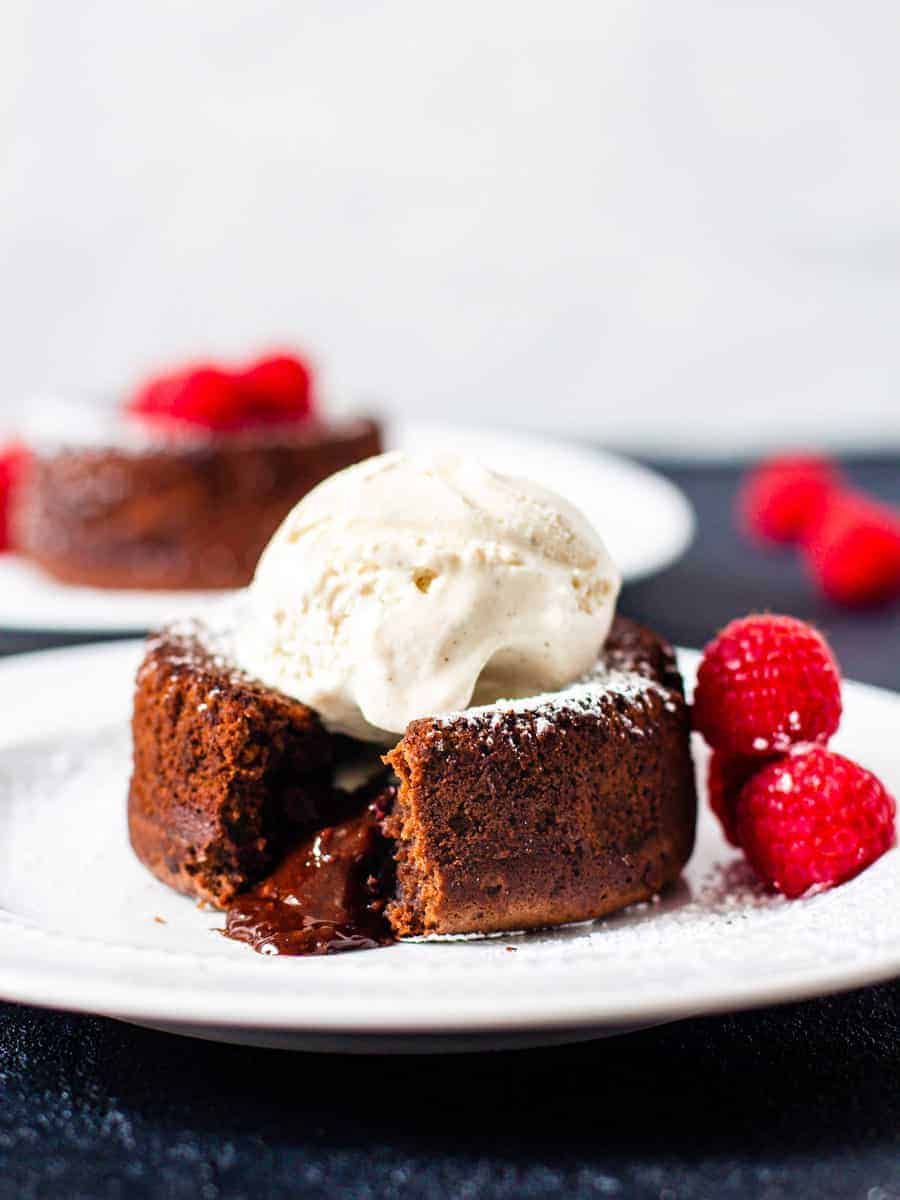
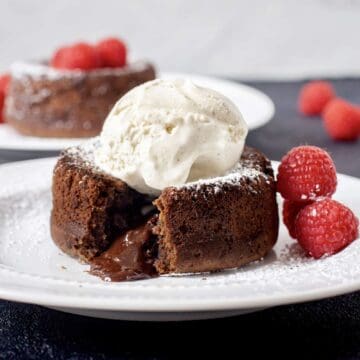
There is something magical about cutting into a warm chocolate lava cake and watching a rich, gooey chocolate center flow out onto the plate. It's the kind of dessert that stops conversation at the dinner table. While it looks like a fancy dessert you'd order at a 5-star restaurant, this Molten Chocolate Lava Cake is surprisingly easy to make right at home in just 20 minutes!
Jump to:
Why You'll Love This Recipe
- Surprisingly Fast: From mixing bowl to oven in 10 minutes.
- Pantry Friendly: No obscure ingredients or pastry skills needed. Just chocolate, butter, sugar, eggs, and flour.
- Make-Ahead Magic: You can prep the batter in the ramekins and refrigerate them up to 2 days before baking.
- Fail-Proof Guide: I've included specific tips to ensure you get that gooey center without a raw cakey mess.
Use AI to summarize this post, find ingredient swaps, and more.
Ingredient Notes
- Baking Chocolate - Quality matters here! Use a high-quality baking bar (like Ghirardelli or Lindt) rather than chocolate chips. Chips contain stabilizers that help them hold their shape, which prevents that silky, molten flow we want.
- Butter - You will need 1 stick of unsalted butter. Again, get a high-quality butter like Organic Valley or Maple Hill. There are only a few ingredients in this dish, so use high-quality for the best results. If you only have salted, skip the pinch of salt in the dry ingredients.
- Powdered Sugar - The original recipe from Jean-Georges Vongerichten uses granulated sugar whipped with eggs, then folded into the chocolate mixture. This recipe uses powdered sugar to simplify the process.
- Eggs + egg yolks - Room temperature eggs whip up better. You'll use 2 whole eggs plus 2 extra yolks-the yolks are the secret to that rich, fudgy texture.
- Flour - All-purpose flour gives the cake just enough structure to hold its shape. We use a small amount (just ¼ cup) so the cake stays tender and fudgy.
- Cocoa Powder - I add a tablespoon of cocoa powder into the mix for a deeper chocolate flavor. You'll also need a little extra for prepping the ramekins for baking.
- Ramekins - You'll need 4, 6 ounce ramekins for this recipe. If you don't have ramekins, a muffin tin will work too. Standard muffins are 4 ounces, so adjust the cooking time down by a minute or two.
Step-by-Step Instructions
- Preheat and prep the ramekins: Preheat your oven to 425ºF, then prepare the ramekins or muffin tin. Spray them with cooking spray, then dust them with cocoa powder.
Why: A fully hot oven sets the outside quickly while the center stays soft. Cocoa powder ensures your cakes flip out perfectly at the end. - Melt the Chocolate and Butter: Chop your chocolate bar into small pieces. In a microwave-safe bowl, combine the chopped chocolate and butter. Microwave in 30-second intervals, stirring in between, until completely smooth. Set aside to cool slightly.
Why: Microwaving in short bursts, then stirring, helps the chocolate melt gently and avoids overheating the chocolate, which can cause it to seize or get grainy. - Mix the dry ingredients: In a medium bowl, whisk together powdered sugar, cocoa powder, flour, and salt.
Why: Whisking now prevents flour pockets, and you'll mix less once the eggs go in, which helps texture. - Whisk the eggs: In a separate bowl, whisk together the eggs and egg yolks.
Why: Evenly mixed eggs blend into the batter quickly, so you're less likely to overmix at the end. - Combine (don't overmix!): Pour the chocolate mixture into the dry ingredients and stir. Add the eggs and stir just until smooth.
Why: Overmixing adds extra air, leading to cakes that puff up fast… then collapse. Gentle mixing keeps the texture fudgy and consistent.
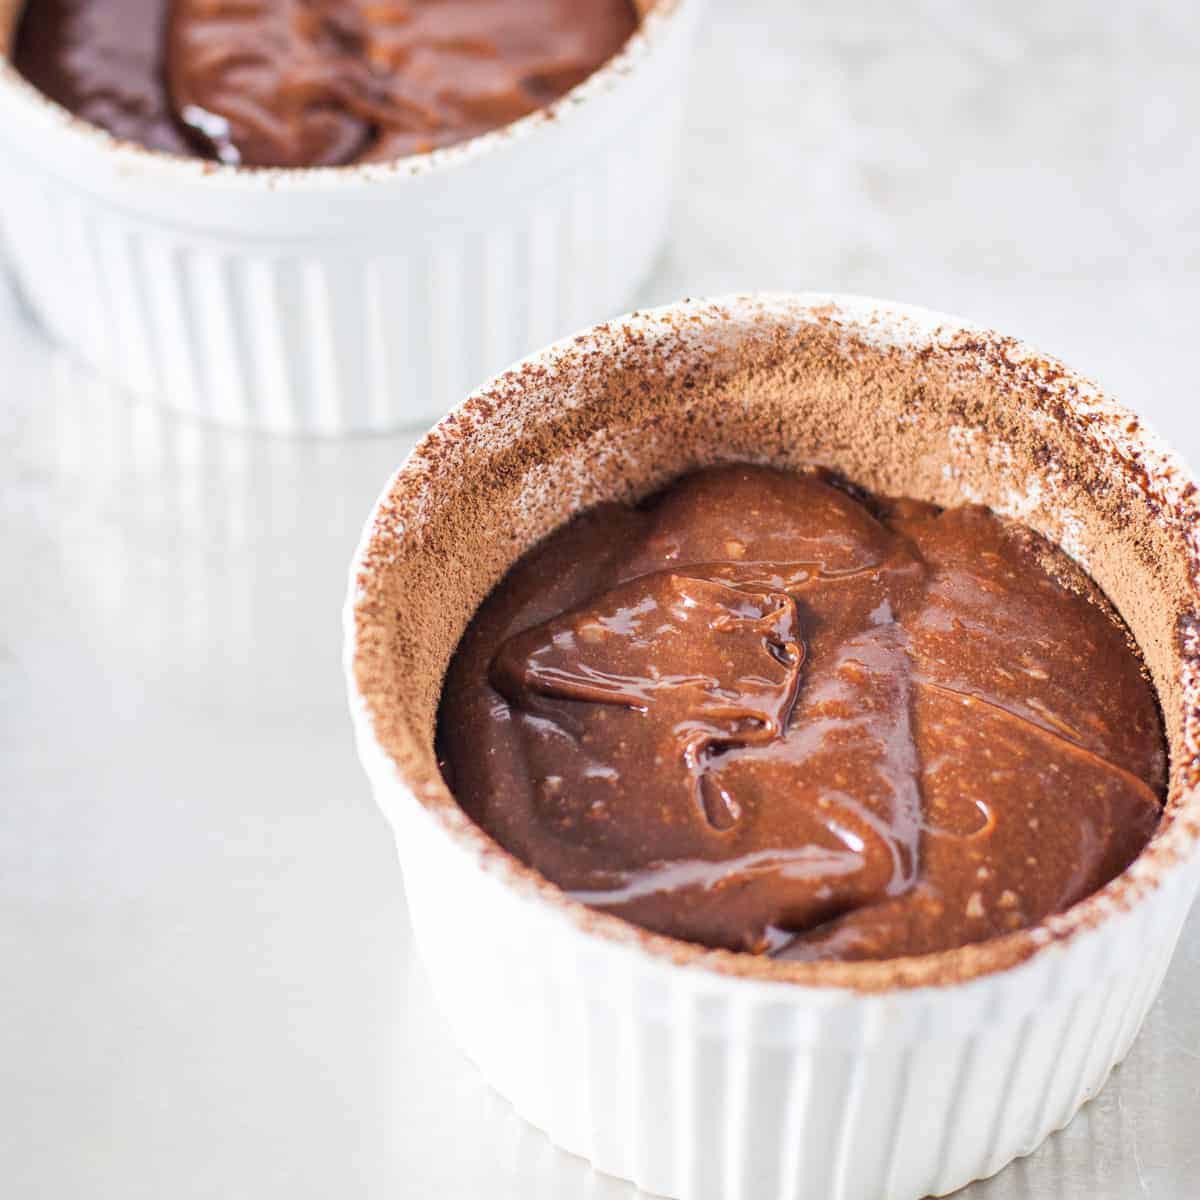
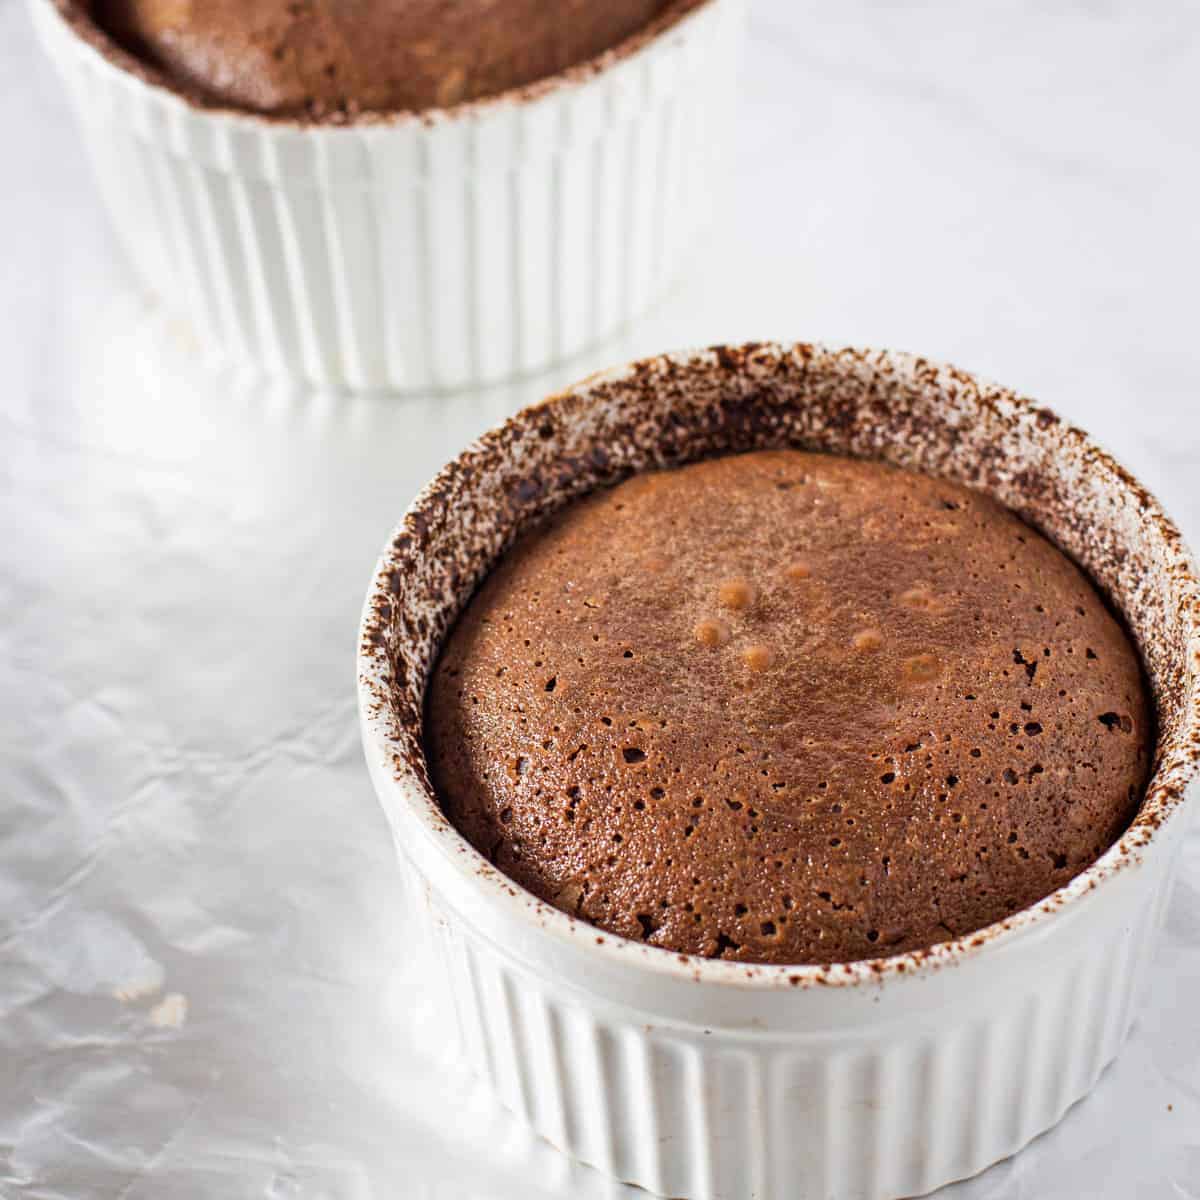
- Bake: Divide the batter evenly between ramekins (they don't rise much-leave some space at the top). Bake for 8 to 10 minutes, until the edges look set and the center still looks soft.
How to tell it's done: The edges should look firm and baked. The top looks set but soft, and the center (about the size of a quarter) should still jiggle slightly when you tap the ramekin.
- Rest, plate, serve: Let the cakes cool in the ramekins for 1-2 minutes. Gently run a thin knife around the edge of the cake, then place a small dessert plate upside down over the ramekin. Holding both tight (use a towel, they are hot!), flip them over. Lift the ramekin off to reveal your masterpiece. Dust with powdered sugar and serve immediately!
Why: The short rest lets the outside set just enough to flip without tearing-waiting too long can make the center set up more than you want.

Tips for Success (Chef's Tips)
- Measure flour lightly. Too much flour makes the center set and cake-like instead of molten. Stir your flour before scooping and and lightly spoon it when measuring.
- Start checking early. Most lava-cake failures are due to overbaking. If your oven runs hot, you may need closer to 8 minutes. If it runs cool, closer to 10-11. If you're unsure, test at 8-9 minutes.
- Don't Overbake. This is the golden rule. If you bake it until the center is firm, you'll just have a delicious brownie-no lava. Trust the jiggle!
- Ramekin Sizes: If you use smaller 4 oz ramekins, check the cakes at 8 minutes. If you use a muffin tin, they will bake even faster (about 7-9 minutes).
How to Serve Lava Cake
Lava cakes are really rich and decadent, but if you want to take it up a notch here are a few suggestions.
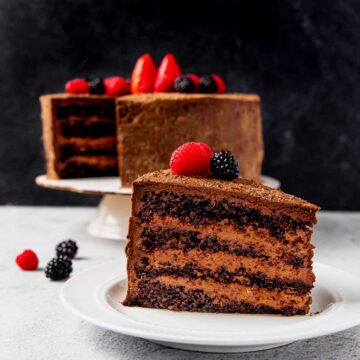
- Classic: A dusting of powdered sugar and a few fresh raspberries or strawberries.
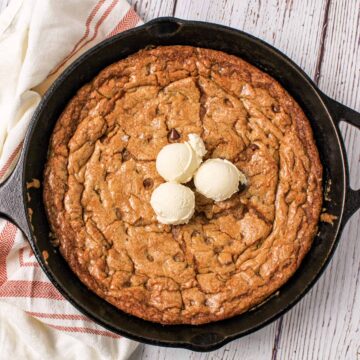
- Indulgent: A scoop of vanilla bean ice cream. The hot cake melting the cold ice cream is pure bliss.
- Extra: A drizzle of salted caramel sauce or hot fudge.

Make Ahead Directions
If you want to prepare the cakes more than a few hours ahead, cut circles of parchment paper to line the bottom to help avoid sticking. Then prep the ramekins as normal, spoon in the batter, and refrigerate.
Alternatively, you can cover the mixed batter and refrigerate it in the mixing bowl. Unbaked batter can be covered and stored for up to 2 days. Bake straight from the fridge, adding 1-2 minutes to the bake time.
Frequently Asked Questions
Chocolate lava cake is intentionally underbaked so that the batter in the center remains warm and gooey and the exterior is fully baked.
Overmixing can cause larger air bubbles in the batter which causes the cake batter to rise too quickly, then collapse.
Look for set edges and a soft top with a slight jiggle in the center. If you want a more precise check, an internal temperature around 160°F (71°C) helps keep the center gooey while ensuring the eggs are cooked.
Absolutely. A standard muffin tin works well-just grease and cocoa-dust it the same way and start checking earlier since the portions are smaller.

📖 Recipe
Chocolate Lava Cake Recipe
Equipment
- 6 oz Ramekins
Ingredients
- 4 oz semi sweet chocolate bar, chopped
- ½ cup butter, 1 stick
- 1 cup powdered sugar
- 1 tablespoon cocoa powder, plus additional for coating dish
- 6 tablespoon flour
- ⅛ teaspoon salt
- 2 whole eggs
- 2 egg yolks
Instructions
- Preheat oven to 425°F
- Spray ramekins with cooking spray then dust with cocoa powder.
- Add chopped chocolate and butter to a microwave safe dish and melt in 30 second intervals, then stir until smooth and set aside.
- Add powdered sugar, cocoa powder, salt, and flour to a bowl and whisk to combine.
- Whisk together eggs and egg yolks.
- Combine chocolate mixture, dry mixture, and eggs in a large bowl and stir until smooth. Do not over mix.
- Spoon batter into ramekins, then bake for 8 to 10 minutes until set but still soft in the middle.
- Remove from oven and let cool for about 2 minutes before topping and serving.
Notes
- Start checking early. Most lava-cake heartbreak is from overbaking. If you're unsure, pull one at 8-9 minutes and test-better slightly under than over.
- Measure flour lightly. Too much flour makes the center set and cake-like instead of molten.
- Use bar chocolate. You'll get a smoother melt and a better molten texture than with chips.
- Don't skip the cocoa dusting. It helps release and looks nicer than flour on the outside.
- Release the edges. Run a thin knife around the very edge of the cake before flipping to ensure it doesn't stick.
Nutrition
* All nutrition information we provide are estimates based on third party calculators. We encourage you to calculate these on your own for accurate results.
Leave a Reply