This peach cobbler recipe is super easy and SO DELICIOUS!!! It's made with a filling of sweet, juicy fresh peaches, then topped with a buttery biscuit topping, and is one of my all-time favorite summer desserts.

Jump to:
Why this Recipe Works
This classic peach cobbler recipe is one of my all-time summer favorites. It's packed with sweet fresh peaches and the crunchy buttery drop biscuit topping is the perfect compliment to the soft juicy peaches!
Ingredients
- Peeled and sliced peaches
- Sugar
- Butter
- Flour
- Baking powder
- Ground cinnamon
- Salt
- 1 large egg
- Milk
How to Easily Peel Peaches
Peeling a large batch of peaches with a knife is not what I consider a fun task. Luckily there is a trick to make the job quick and easy:
- Take a knife and cut a shallow "X" in the bottom of each peach. Try to just cut the skin and not into the flesh.
- Bring a large pot of water to a boil then add 2 to 3 peaches at a time and let them cook for around 30 seconds then remove them with a slotted spoon and place them in a bowl of ice water to stop the cooking.
- Then starting where you made the cut the skin will easily slip away from the flesh leaving you with perfectly peeled peaches.
This trick also works great on tomatoes too!

Step-by-Step Instructions
- After peeling the peaches, slice them, then add them to a saucepan with a ½ cup of sugar, ¼ cup of water, and 1 tablespoon of cornstarch and stir to combine.
- Cook over medium heat for around 5 minutes until the mixture is slightly thickened and bubbling.

- While the peaches are cooking combine your dry ingredients in a large mixing bowl and whisk to combine. Then, cut in the cold, cubed butter using a pastry blender or forks until coarse, pea-sized crumbs form.
- In a separate bowl stir together the egg and milk then pour into the dry mixture and stir until just combined.
How to Assemble the Cobbler
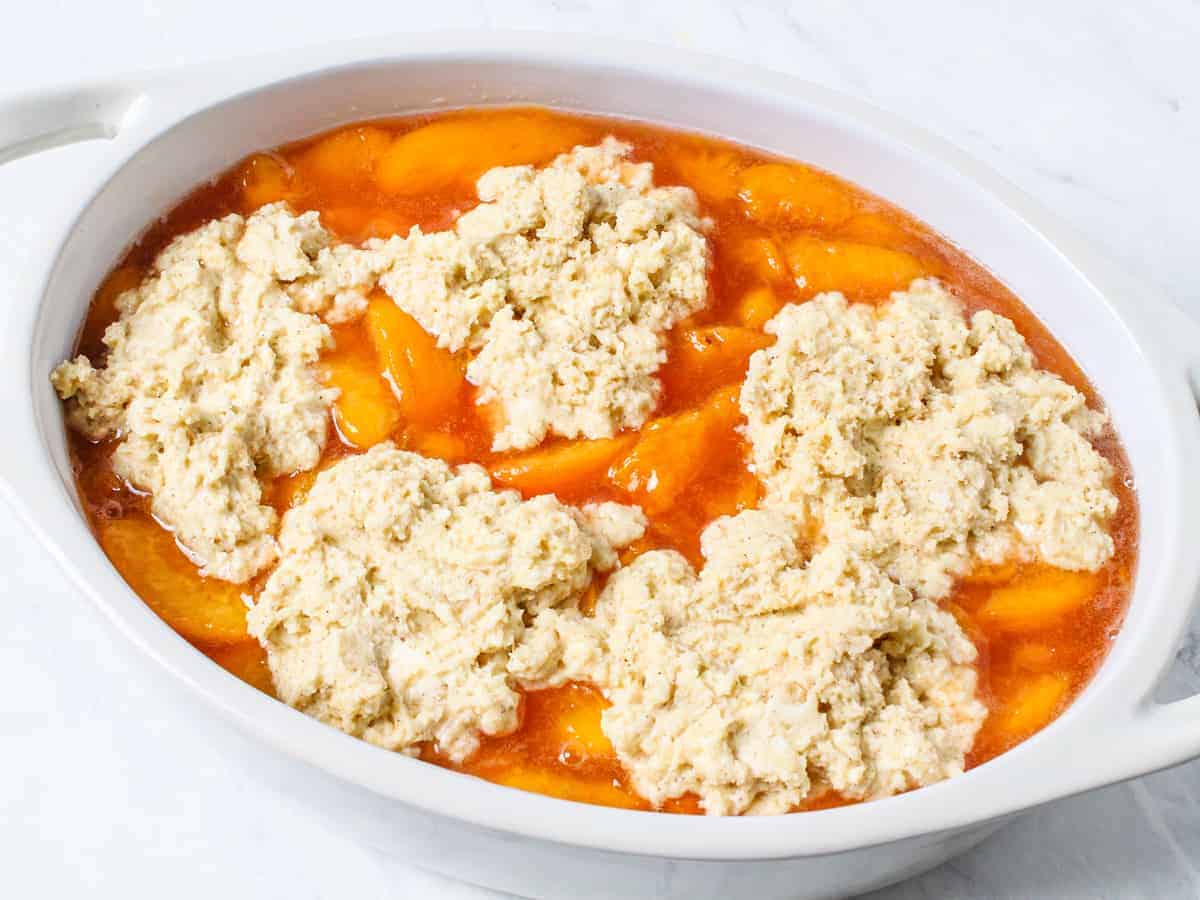
Add the hot peach filling to a 2 quart baking dish and spoon the biscuit topping in 5 or 6 drops on top of the filling. They will expand to mostly cover the filling but, if you prefer you can use smaller spoonfuls to more evenly cover the filling.
Cooking the Cobbler
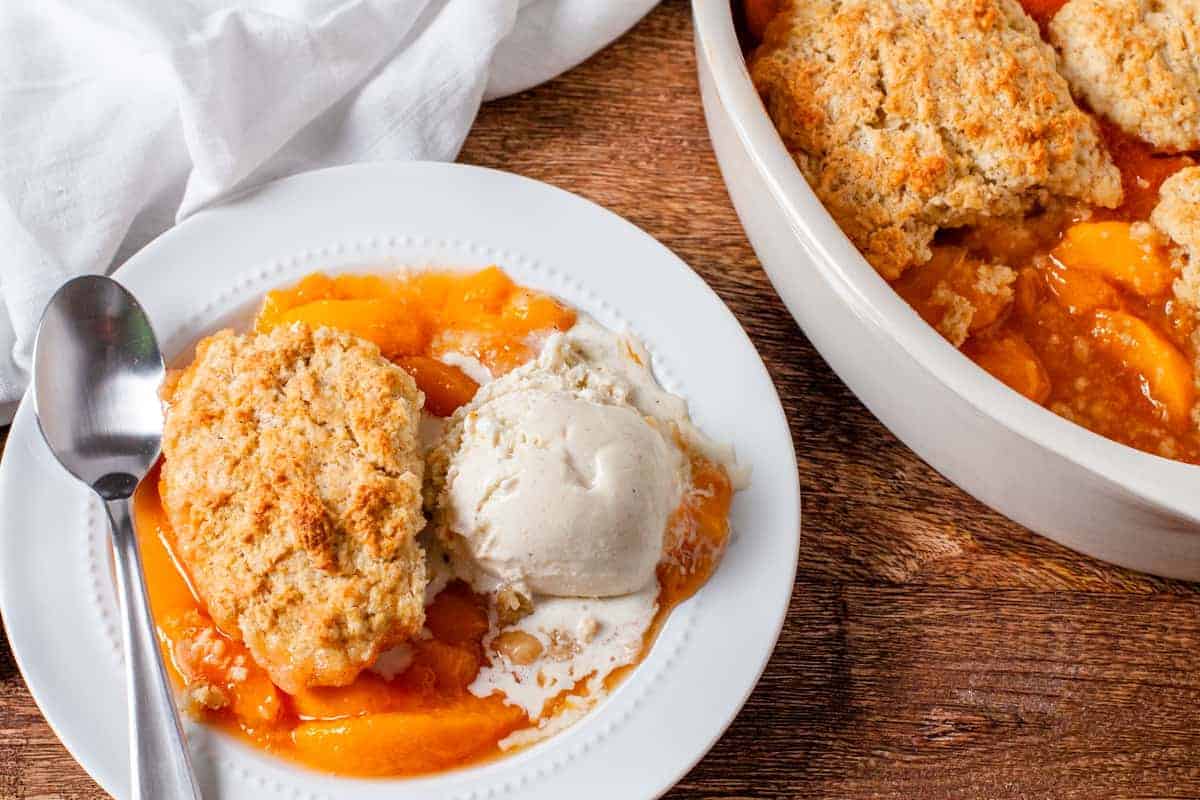
- Bake the cobbler in a 400°F oven for 20 to 25 minutes until the topping is golden brown and cooked through. I recommend placing your baking dish on a foil lined sheet pan just in case any of the filling bubbles out.
- Let the cobbler cool on the countertop or on a wire rack for at least 30 minutes after cooking to allow the filling to thicken up.
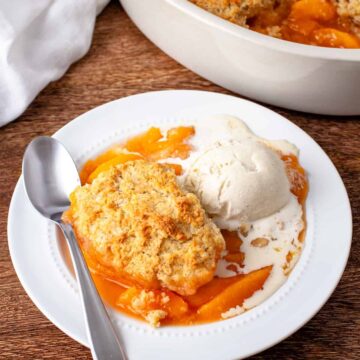
- Serve your cobbler warm with a scoop of vanilla ice cream or a dollop of fresh whipped cream.

How to Store Peach Cobbler
Homemade peach cobbler is best the same day, but it's a great treat the next day for breakfast too!
To store leftovers cover or transfer to an airtight container and refrigerate it for 3 to 4 days.
To reheat the leftover cobbler, cover loosely with foil and bake at 350 degrees until warmed through.
Unfortunately it doesn't freeze well. so I wouldn't recommend freezing it.
Cobbler variations
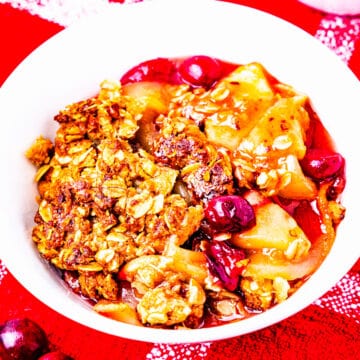
This easy cobbler recipe is the perfect base recipe for just about any summer fruit you've got on hand! It works well with blueberries, blackberries, strawberries, apples, rhubarb, and cherries too.
Can I use frozen or canned peaches?
Yes! I love making peach cobbler with fresh peaches in the summer but you can enjoy it year round with frozen or canned peaches too. To use frozen peaches allow them to thaw and follow the recipe as normal.
For peach cobbler with canned peaches use 2 cans (around 30-32 ounces) of canned peaches in syrup. I prefer the light syrup or reduced sugar variety so it's not overly sweet.
Drain most of the liquid from the peaches reserving around ½ a cup. Add the peaches and the reserved liquid to a saucepan with a cornstarch slurry made of 2 tablespoons of water and 1 teaspoon of cornstarch.
Cook for around 5-7 minutes until slightly thickened.

📖 Recipe
Easy Peach Cobbler
Ingredients
Filling
- 6 cups sliced peaches, around 8-9 medium
- 1 Tablespoon corn starch
- ½ cup sugar
- ¼ cup water
Topping
- 1 cup flour
- 2 Tablespoons sugar
- 1½ teaspoon baking powder
- ½ teaspoon ground cinnamon
- ¼ teaspoon salt
- ¼ cup butter, cold and cubed
- 1 large egg
- ¼ cup milk
Instructions
- Preheat oven to 400°F
Filling
- In a large saucepan add the peaches, ¼ cup of sugar, water, and corn starch and stir to combine. Cook on medium heat for around 5 minutes, stirring occasionally, until thickened. Then transfer to a 2 quart baking dish.
Topping
- While the peaches are cooking add the flour, 2 Tablespoons of sugar, baking powder, salt, and cinnamon to a mixing bowl and whisk to combine. Using a pastry blender or forks cut in the butter until coarse, pea sized crumbs form.
- In a separate bowl stir together the egg and milk then pour into the flour mixture and stir until just combined.
- Spoon the topping on top of the hot filling and bake for 20 to 25 minutes until golden brown.
- Let cool for 30 minutes to an hour before serving to allow the filling to thicken.
Nutrition
* All nutrition information we provide are estimates based on third party calculators. We encourage you to calculate these on your own for accurate results.


Houston Mcgranor
I really appreciate this post. I’ve been looking everywhere for this! Thank goodness I found it on Bing. You have made my day! Thx again
Scott
Thanks so much!