This over-the-top smoked chili is a flavorful twist on traditional chili featuring seasoned ground beef smoked on a rack above a pot of chili. This adds tons of smoky flavor to the meat, and the juices from the meat drip down to add even more flavor to the base. Ultimately, they are mixed together, making a truly delicious pot of chili! In this post, I'll provide simple step-by-step instructions, expert tips, and answers to common FAQs to help you make this chili perfectly every time!

What is Over the Top Chili?
Smoked over-the-top chili is a method of cooking chili where the meat is cooked on a wire rack, above the pot of chili so that meat can absorb tons of smoke flavor, and the drippings are captured in the pot for additional flavor in the chili base.
The over-the-top, or "OTT", cooking method is popular on the Big Green Egg, Traeger grills, and other pellet smokers. It is believed to have originated on a Big Green Egg user forum and is commonly featured in enthusiast Facebook groups for users of these grills.
Why this Recipe Works
- Smoky Flavor - Cooking the meat separately from the chili base allows it to absorb much more smoke than if you combined the meat and smoked the entire pot.
- Easy to Make - Despite the unique cooking method, this recipe is very simple to prepare.
- One Pot Meal - This smoked chili is a complete and hearty one-pot meal, so clean-up is a breeze.
Ingredient Notes
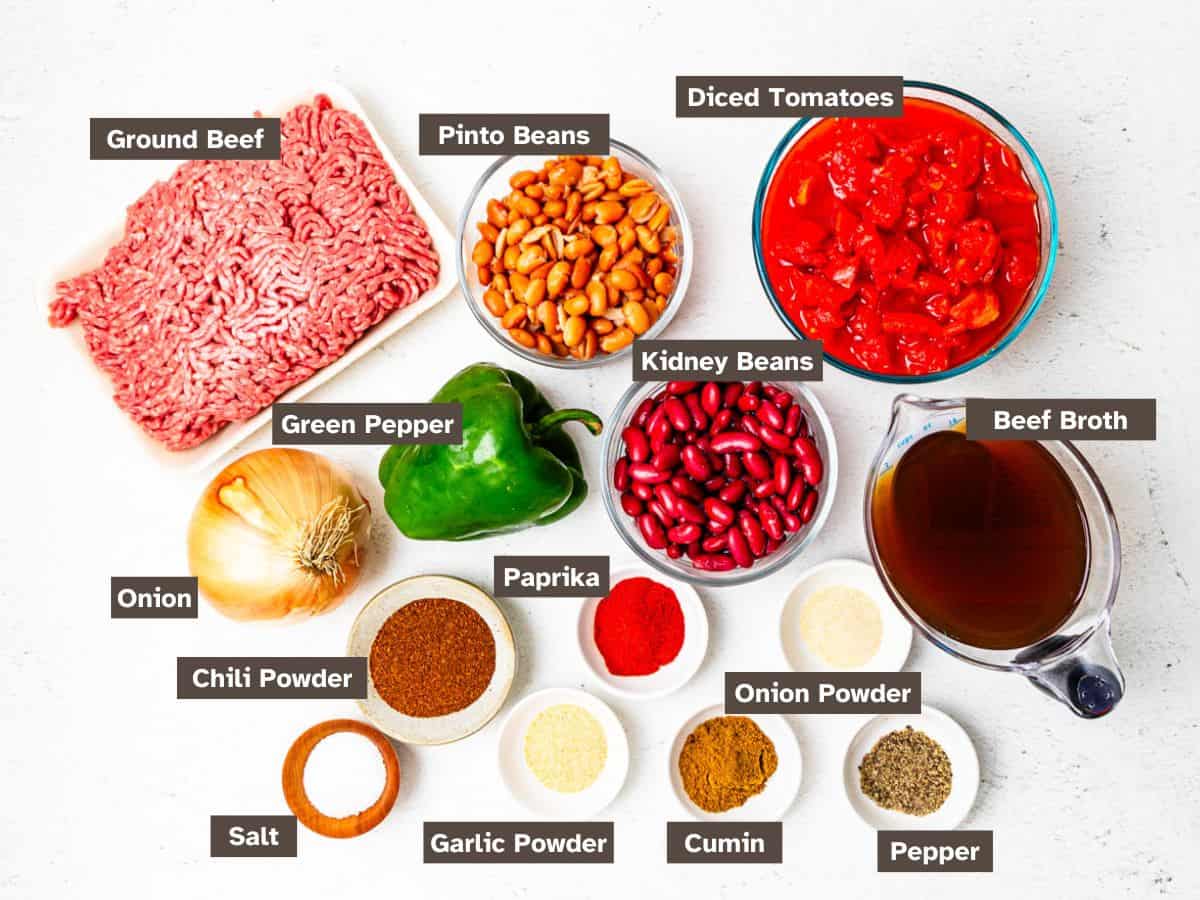
- Ground Beef - I recommend using 80/20 ground beef for this smoked chili recipe. You need some fat in the meat so it will not dry out as it smokes, and the drippings add a lot of flavor to the chili. But too much fat can result in a greasy end result. You can substitute ground turkey, ground pork, or a blend of ground meats if you prefer.
- Beans - I like to use a mix of pinto and kidney beans in my chili. Black beans and other varieties can also be used.
- Chili Seasoning - I usually make a homemade chili seasoning blend, but you can substitute it with your favorite packaged mix.
See the recipe card at the bottom of this post for the complete list of ingredients and measurements.
Step-by-Step Instructions
- Preheat - Preheat your smoker to 225℉
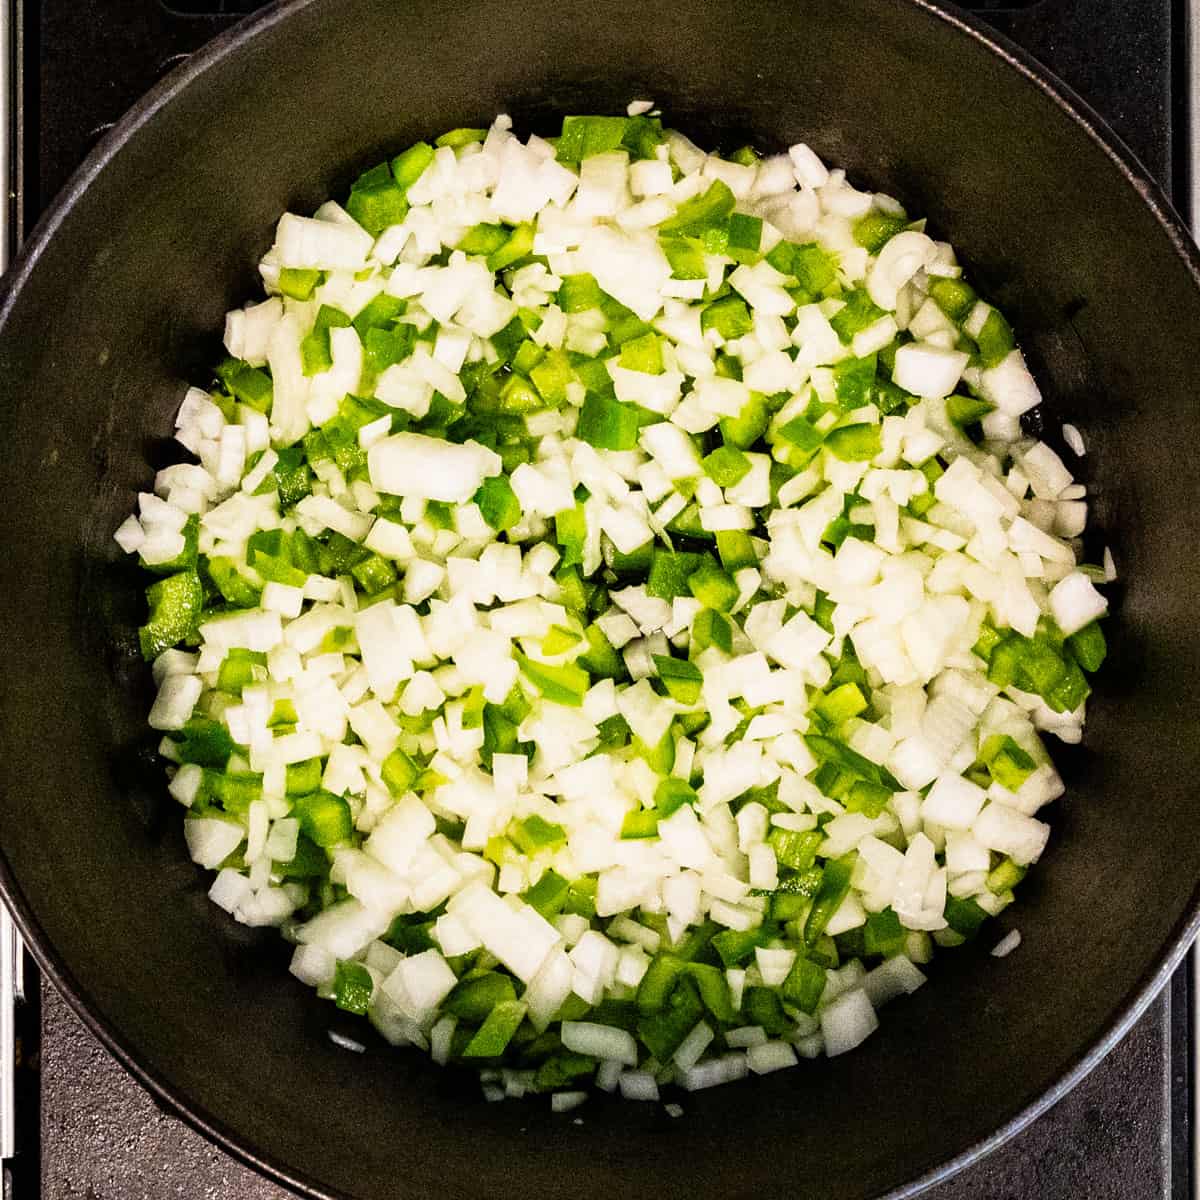
- Saute the veggies - Heat a cast iron Dutch oven over medium heat with 1 Tablespoon of olive oil. Add the diced peppers and onions and cook for 3-4 minutes until softened.
- Make the seasoning - While the vegetables cook, add all of the chili seasoning spices to a small bowl and stir to combine.

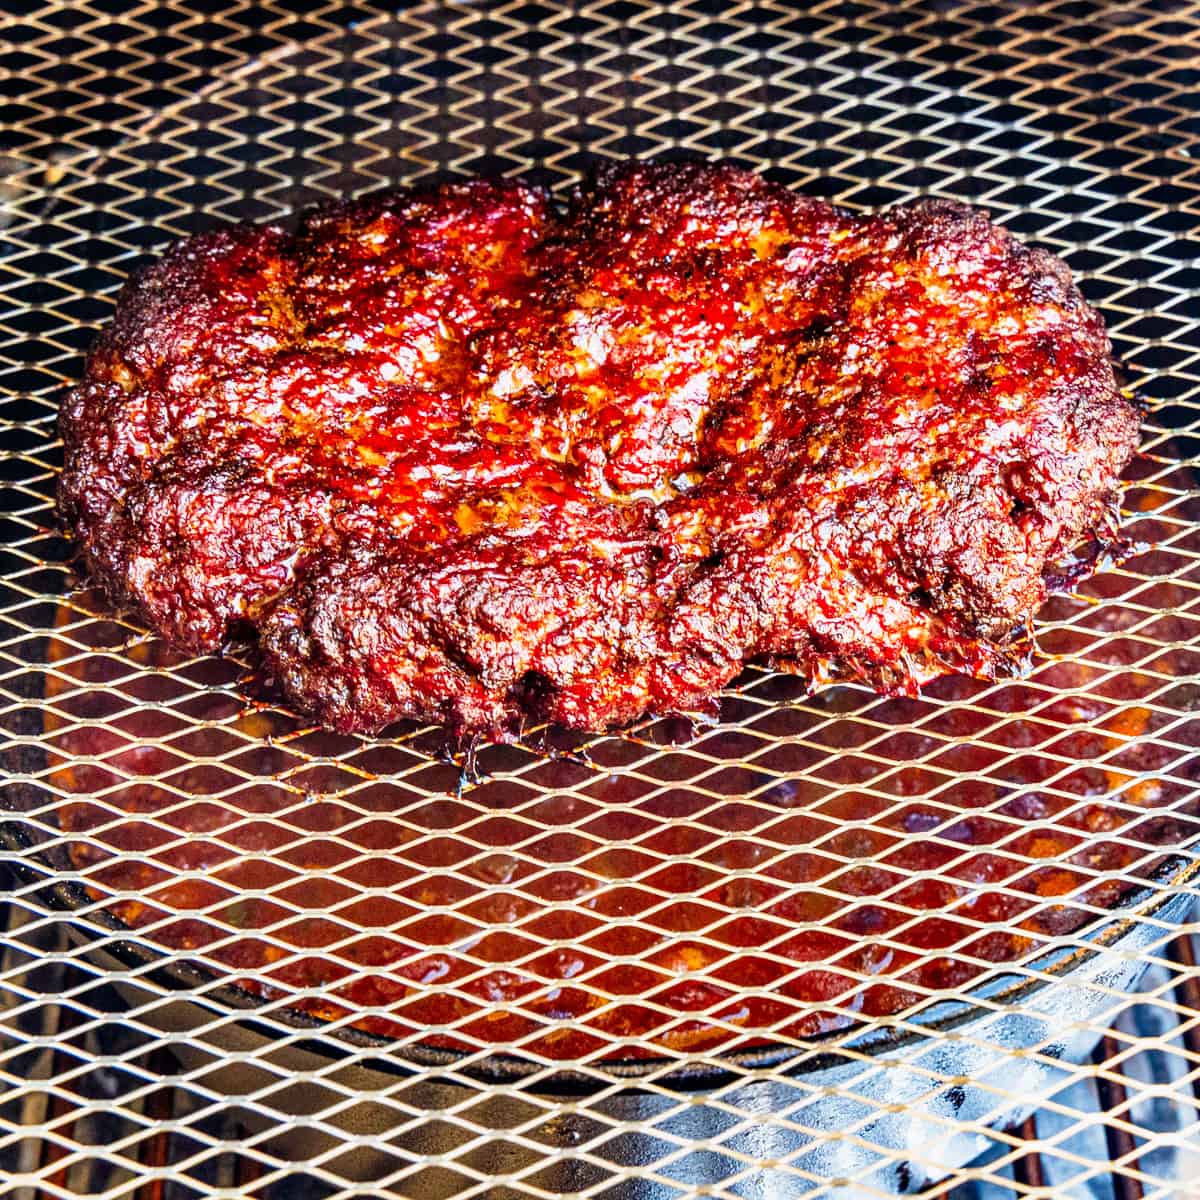
- Prepare the meat - Shape the ground beef into an oval patty around 1-2 inches thick and season the beef on top and bottom with 2 teaspoons of the chili seasoning mix. Place it on a wire baking rack or disposable wire mesh grill topper.


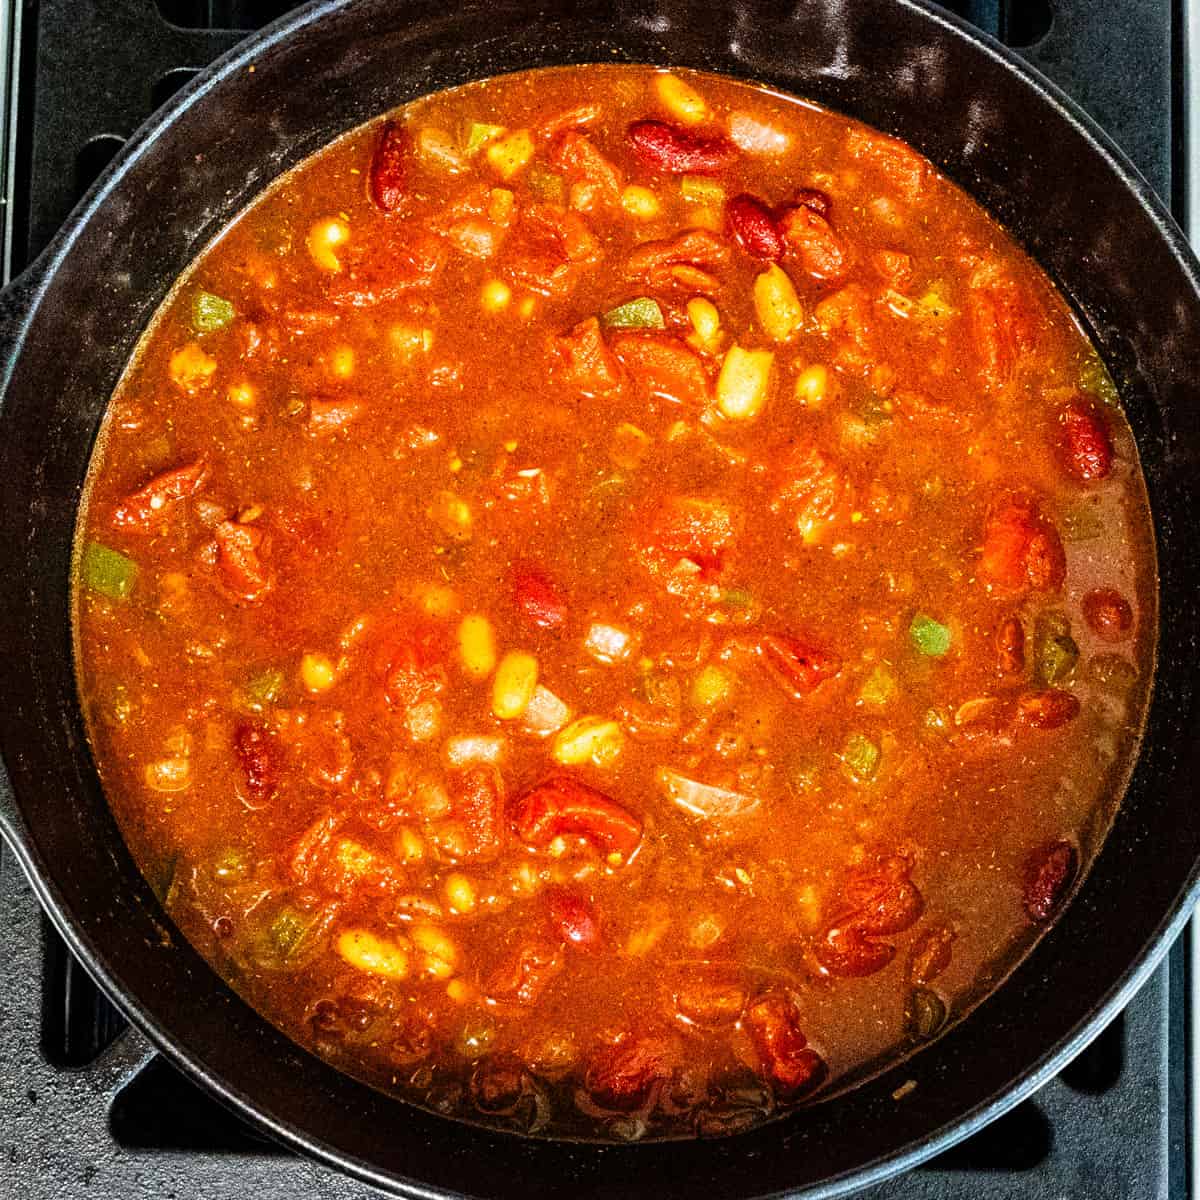
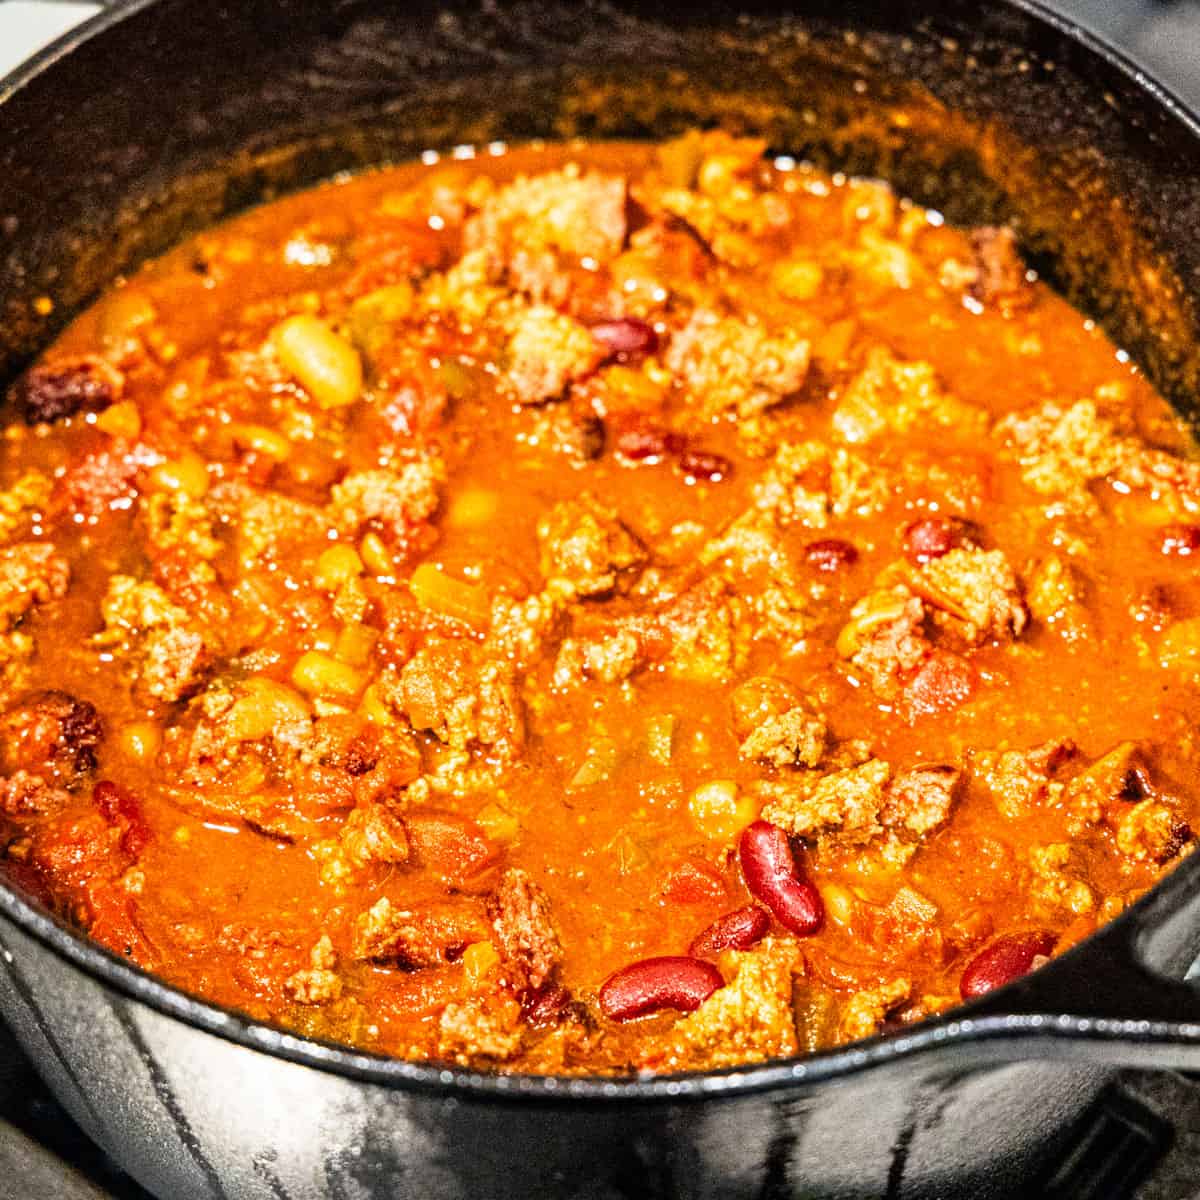
- Make the chili base - Add the beans, tomatoes, beef broth, and the remaining chili seasoning mix. to the pot and stir to combine.
- Smoke the chili - Transfer the Dutch oven to your smoker and place the rack with the ground beef over the top of the pot. Smoke for 2 hours, stirring every 30-45 minutes.
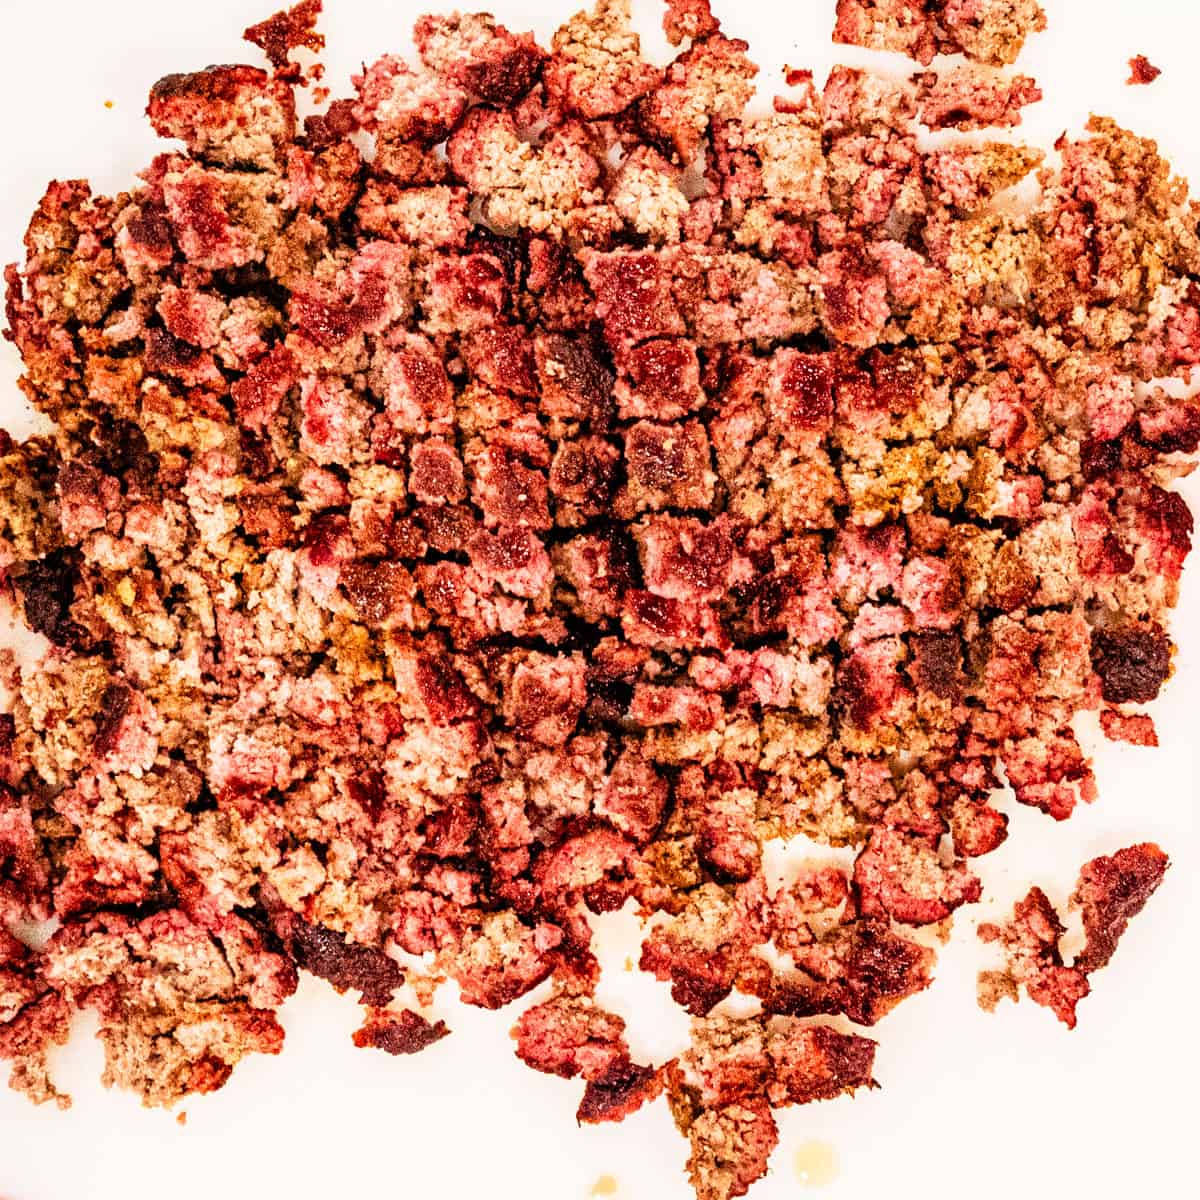
- Combine the meat - Transfer the ground beef to a cutting board and chop the meat, then add the meat to the chili and stir to combine.
Expert Tips
- Using a disposable wire mesh grilling rack to hold the meat makes clean-up easy, but you can also use a wire baking rack or a small grill grate.
- If you want a spicier chili, add cayenne pepper to the seasoning blend and diced jalapenos when cooking the onion and peppers.
- If too much fat has collected in your chili, use a large spoon to skim some of the fat off the top before stirring in the meat.
What to Serve with Chili
I like to top my OTT chili with shredded cheese and sour cream and serve it with a batch of my southern-style cornbread. A simple side salad like my apple walnut salad or my copycat Chick-fil-a kale salad would also make a great addition.

Storage and Reheating
Store leftovers in an airtight container and refrigerate for up to 4 days. Reheat your leftovers on the stovetop in a pot set over medium heat, or reheat individual portions in the microwave.
The chili can be cooled, transferred to a freezer-safe container, and frozen for up to 3 months.
Frequently Asked Questions
I recommend using hickory or applewood for this chili recipe. Oak and cherry are also good options.
If you prefer thicker chili, mix a tablespoon of cornstarch and a tablespoon of water to create a slurry. Stir the mixture into your chili and cook for another 10 minutes until thickened.
Chili reheats well, so it's perfect to make ahead. In fact, I think it's better the next day so the flavors have more time to combine.
More Chili and Soup Recipes
📖 Recipe

Over the Top Smoked Chili
Ingredients
- 1½ pounds ground beef
- 1 medium onion, diced
- 1 medium green pepper, diced
- 1 Tablespoon olive oil
- 1 15 oz can pinto beans, rinsed and drained
- 1 15 oz can dark red kidney beans, rinsed and drained
- 1 28 oz can diced tomatoes, with juices
- 2 cups beef broth
Chili Seasoning Mix
- 2 Tablespoons chili powder
- 2 teaspoons cumin
- 2 teaspoons paprika
- 2 teaspoons kosher salt
- 1 teaspoon garlic powder
- 1 teaspoon onion powder
- ½ teaspoon freshly ground black pepper
Instructions
- Preheat your smoker to 225℉
- Heat a cast iron Dutch oven over medium heat with 1 Tablespoon of olive oil. Add the diced peppers and onions and cook for 3-4 minutes until softened.
- While the vegetables cook, add all of the chili seasoning spices to a small bowl and stir to combine.
- Shape the ground beef into an oval patty around 1-2 inches thick and season the beef on top and bottom with 2 teaspoons of the chili seasoning mix. Place it on a wire baking rack or disposable wire mesh grill topper.
- Add the beans, tomatoes, beef broth, and the remaining chili seasoning mix. to the pot and stir to combine.
- Transfer the Dutch oven to your smoker and place the rack with the ground beef over the top of the pot. Smoke for 2 hours, stirring every 30-45 minutes.
- Transfer the ground beef to a cutting board and chop the meat, then add the meat to the chili and stir to combine.
Nutrition
* All nutrition information we provide are estimates based on third party calculators. We encourage you to calculate these on your own for accurate results.




Leave a Reply